Part 8: D-Diving and You
Update 08: D-Diving and YouOr how I learned to stop worrying and love the D-Counter.


Music: Lowest Sector
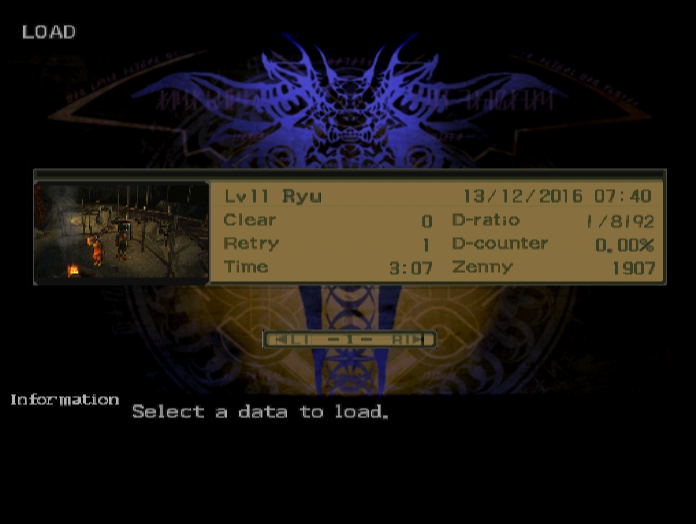
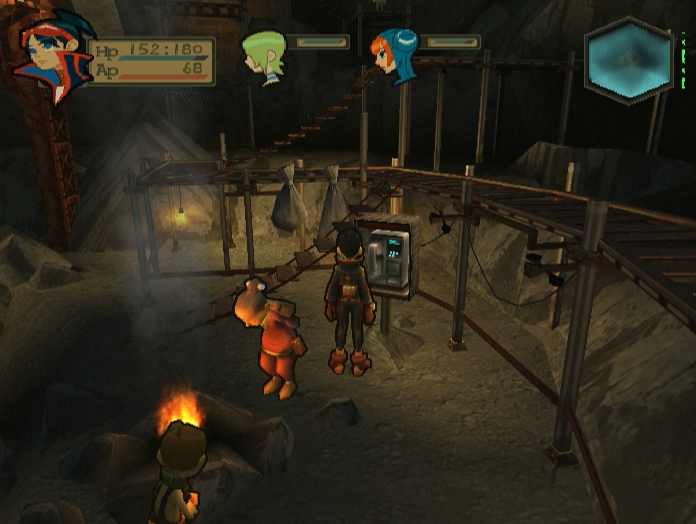
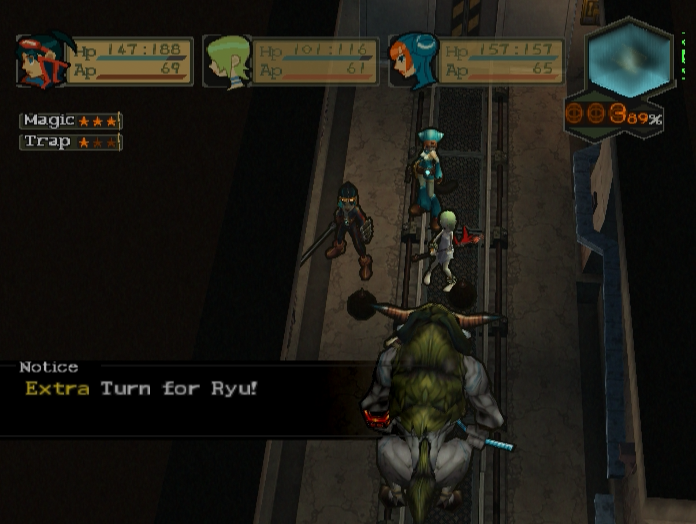
Welcome back. Last time we unleashed Ryu’s true potential and obliterated Bosch with the power of the Dragon. But we didn’t accomplish everything we could have in that battle, so I have decided to use the Scenario Overlay System to travel back in time to before we entered the station.
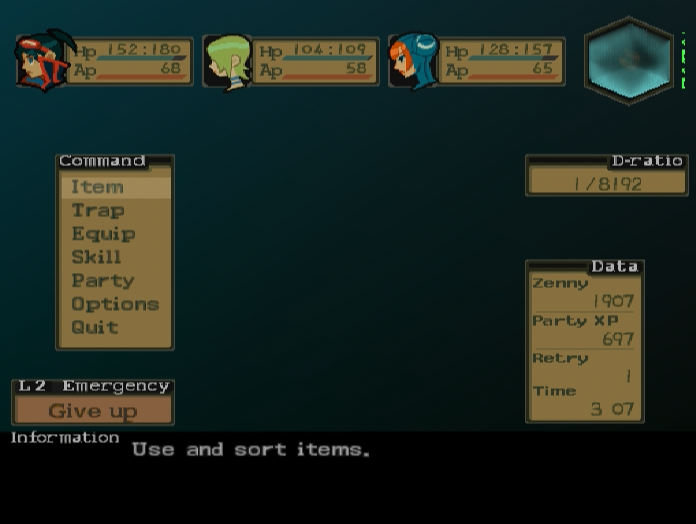
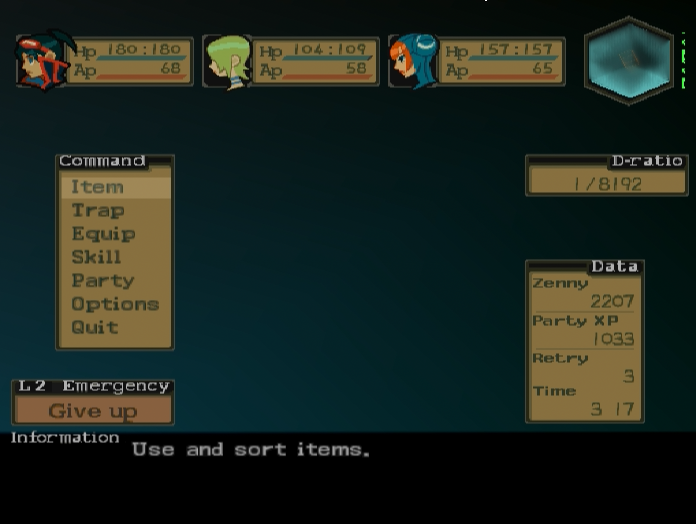
Opening the menu reveals a few things. Nina has lost the level she gained from the Bosch fight, but the Party XP has carried over, as has our money. You’ll also notice that the D-Counter has disappeared.

Our empty inventory has been filled with the default items - 5 Heal Kits, 1 Tonic and 9 Save Tokens (or just 1 if you’re playing the NTSC version).

The items we stashed in Jaju’s locker have also carried over. I stash the Heal Kits and Tonic in the locker, then fast forward to the battle with Bosch.

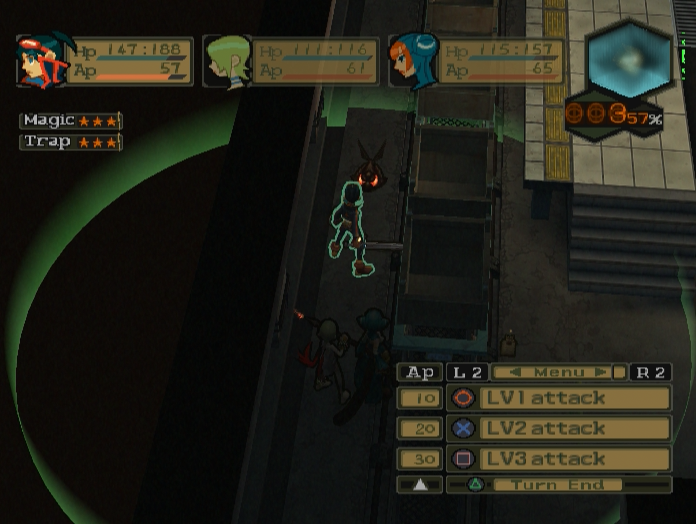
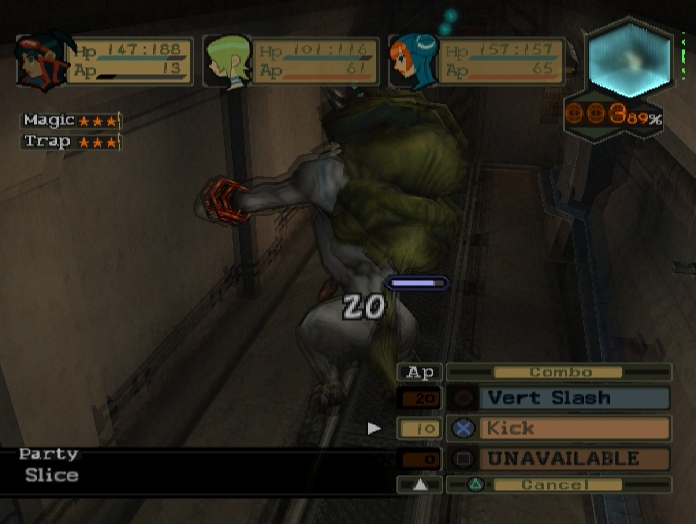
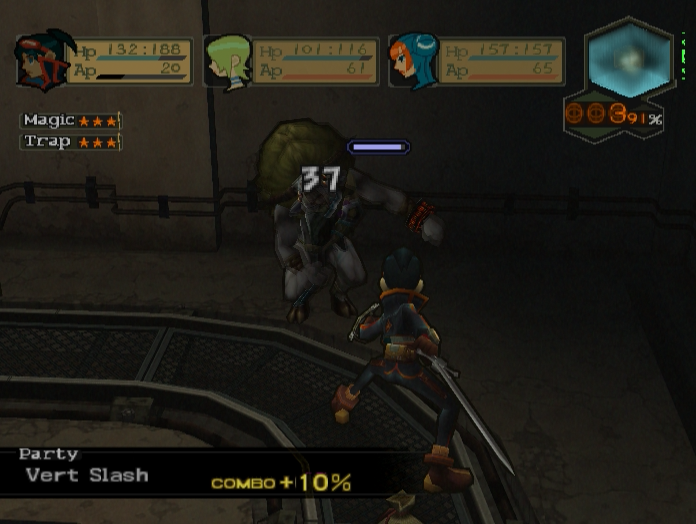
There are a few of Dragon Ryu’s skills we never got to see. The first of these is Hurricane, an attack which hits a spread of enemies.
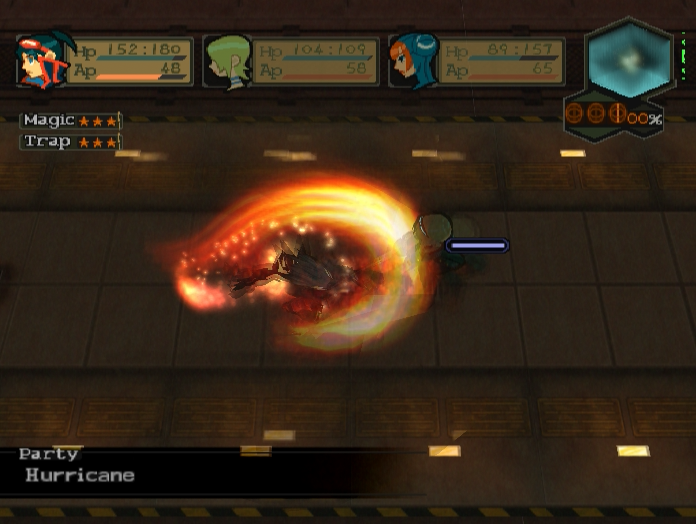
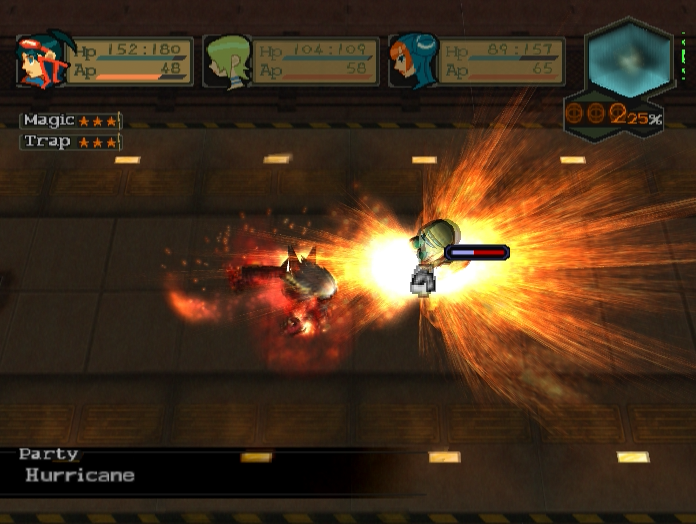

Like all of Dragon Ryu’s skills, it’s devastating.

Pressing R2 brings up two more skills, D-Breath and D-Charge. There’s also an option called Cooldown that returns Ryu to his human form, but we can’t use it during this particular battle.
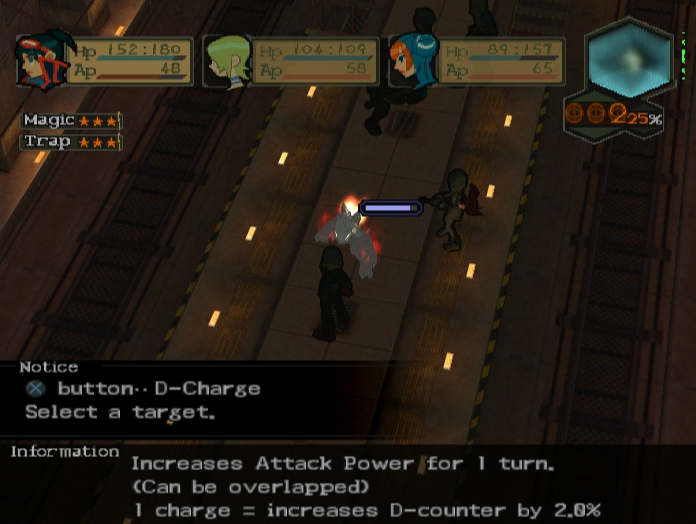
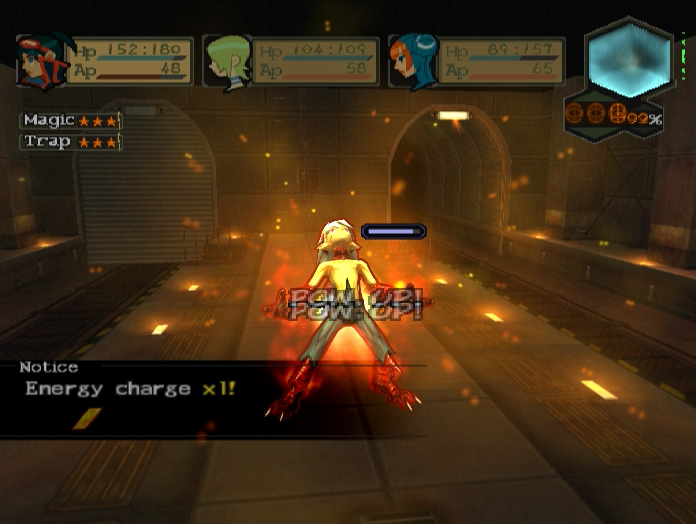
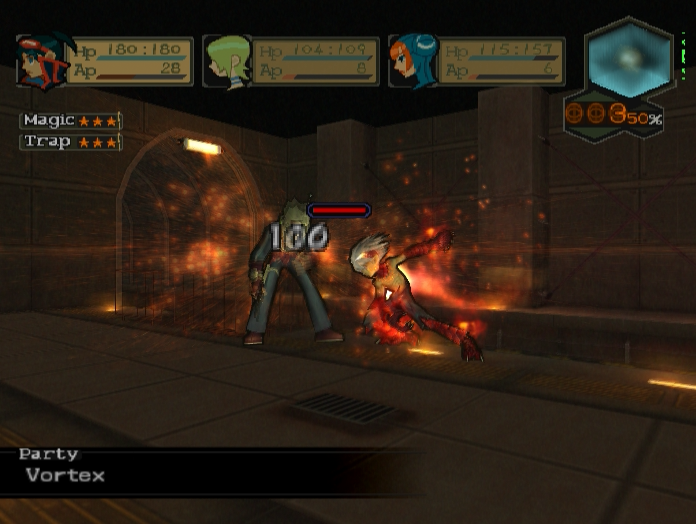
Using D-Charge causes Ryu to gather power, boosting his next attack by a significant amount. This costs no AP and can be stacked up to 10(!) times.

Just one Charge followed by a Vortex is enough to totally empty Bosch’s HP bar.
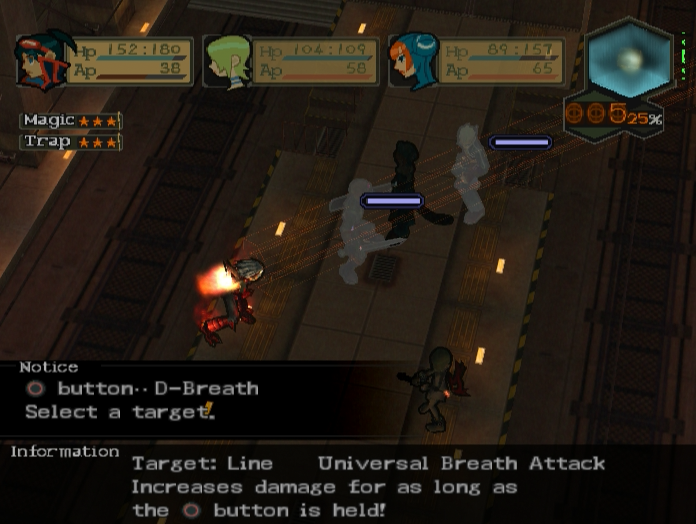
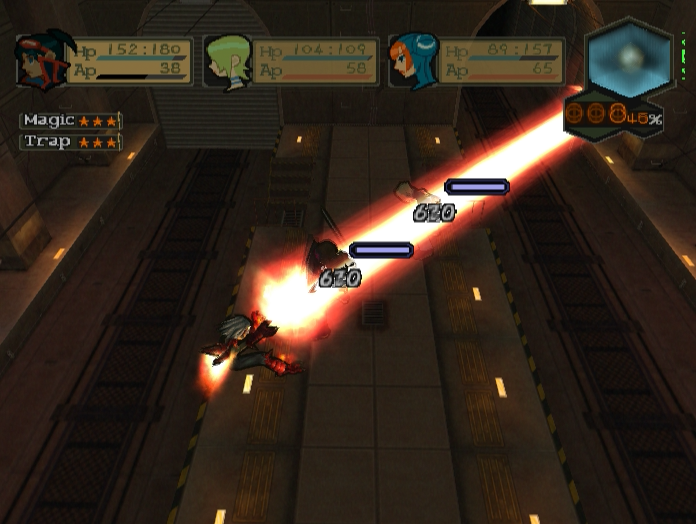
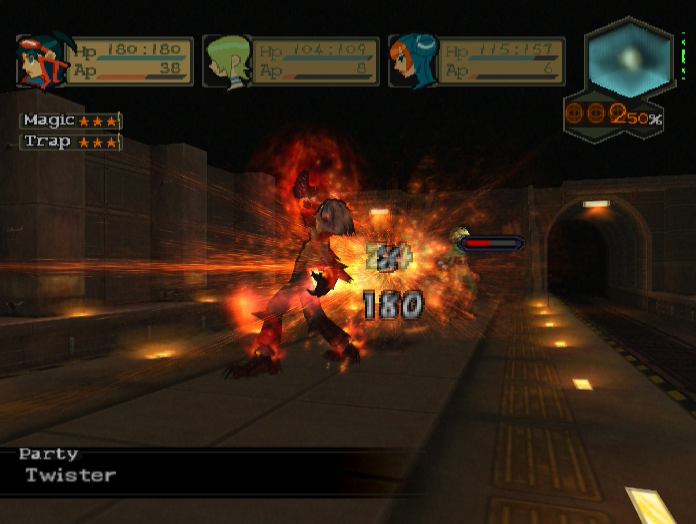
The other special skill, D-Breath, is a narrow area of effect attack with infinite range that hits all enemies in a line.
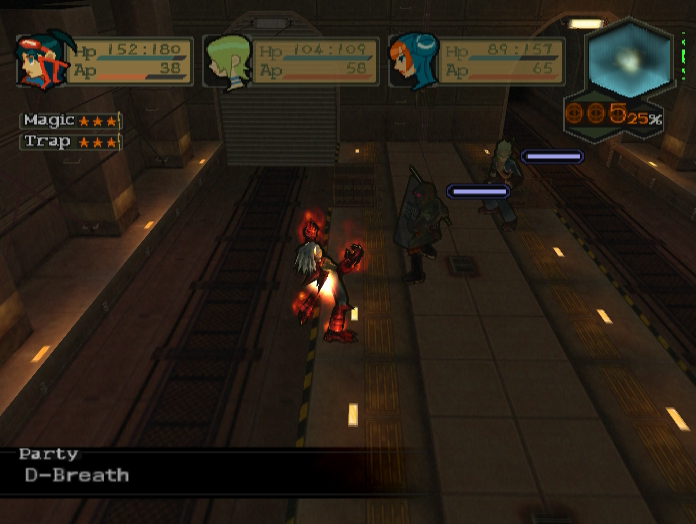
D-Breath is Dragon Ryu’s most powerful skill. Like D-Charge it consumes no AP and the damage it deals will keep rising as long as you hold down the ‘O’ Button.
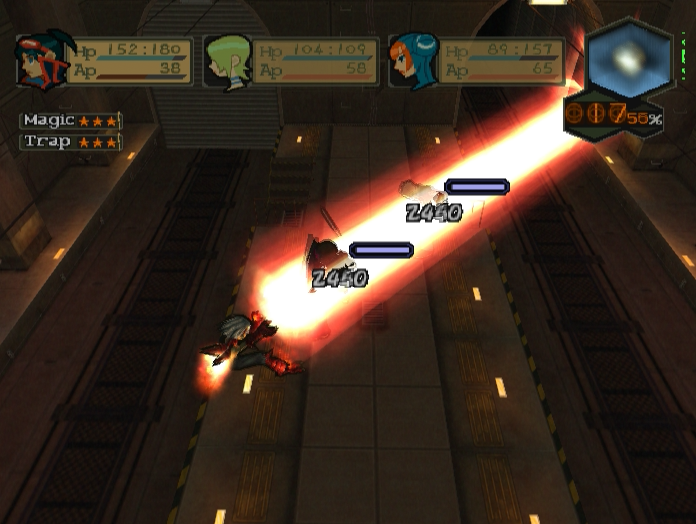
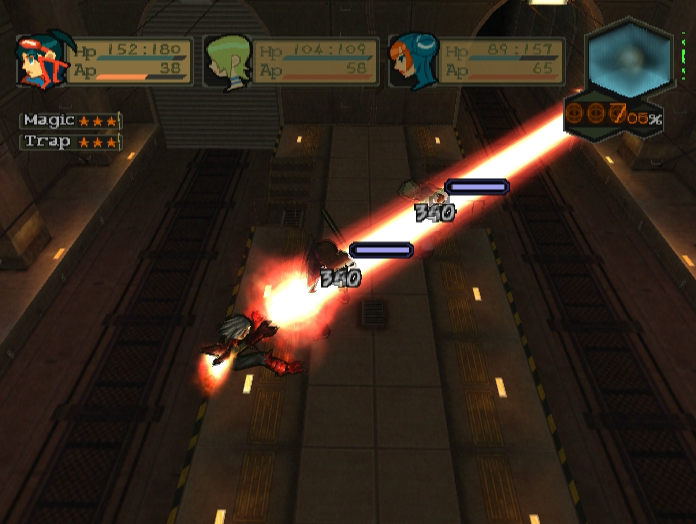
It also causes the D-Counter to rise incredibly quickly, by around 2% every second.
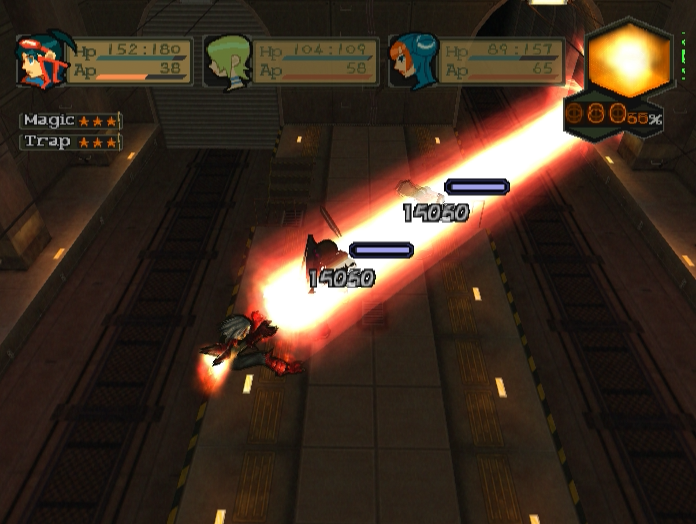
You can do some absolutely mindboggling damage with this skill, enough to vaporize absolutely any enemy or boss the game throws at you.
Now I know what you’re thinking. Dragon Ryu is absurdly, ridiculously, hilariously overpowered. How does this not utterly break the entire game? What’s to stop you from steamrolling everything in your path?
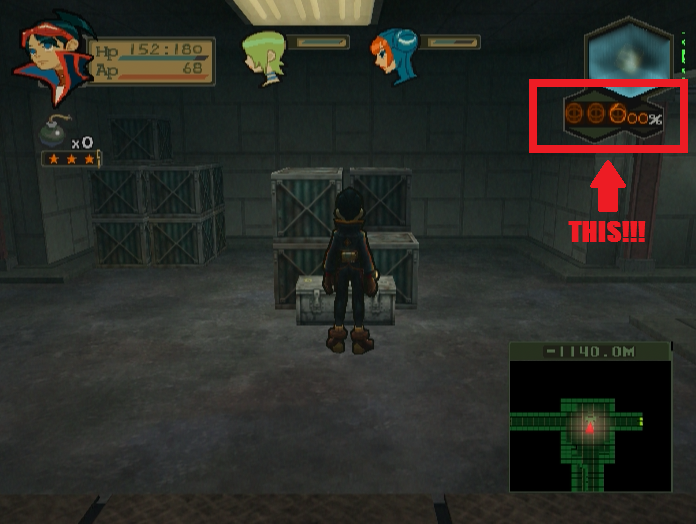
The answer to that question is the D-Counter. That little number is absolutely central to Ryu’s Dragon abilities and even the game itself. From this moment on certain actions will cause the D-Counter to rise. These include:
-Assuming Dragon Form during battle (1% increase)
-Remaining in Dragon Form during battle (2% per turn)
-Using Vortex (1%), Hurricane (1.25%) or Twister (1.50%)
-Using D-Charge (2% per Charge)
-Using D-Breath (
 2% per second)
In addition, D-Dashing now causes the D-Counter to rise roughly 1% every second, while simply moving normally causes it to increase by 0.01% every 15 or so steps. It also increases by 0.01% every turn in battle (not counting EX Turns).
What happens if the D-Counter hits 100%?
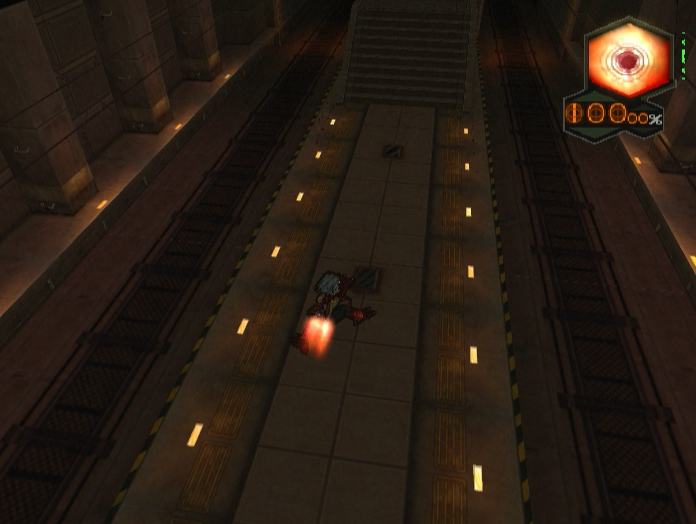
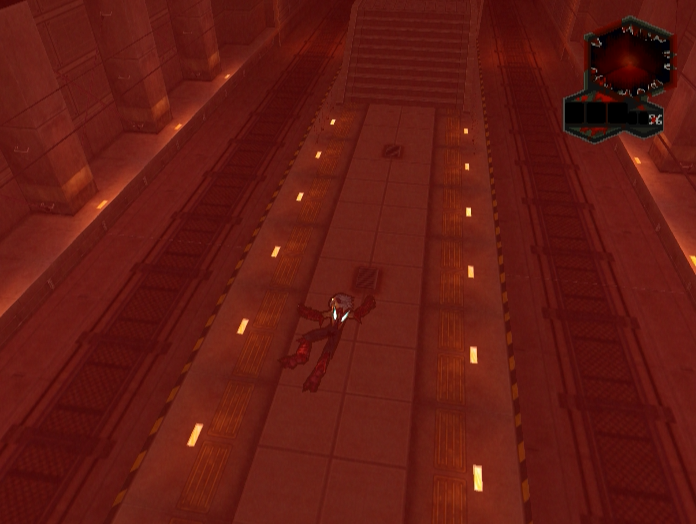
The D-Counter shatters, and Ryu collapses.
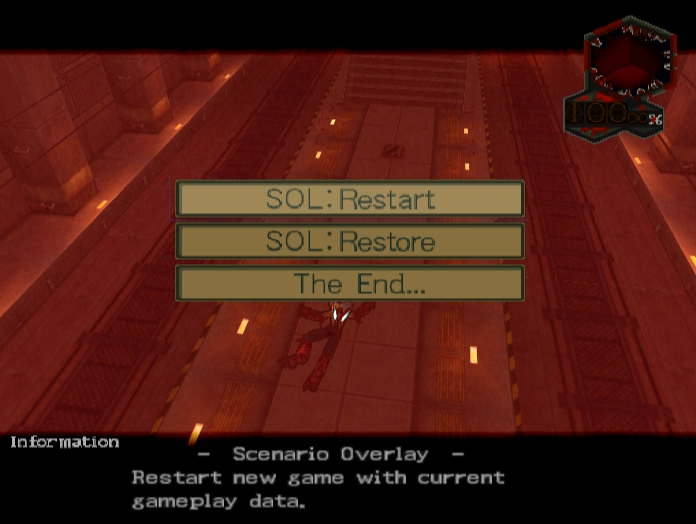
You’re then given a choice to use the SOL System, along with another option called ‘The End’, which simply returns you to the title screen without saving. Choosing this option gives you a special Game Over screen.
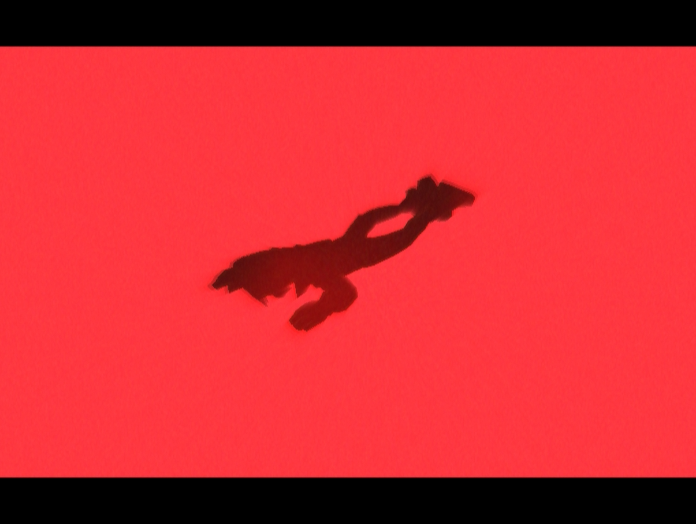
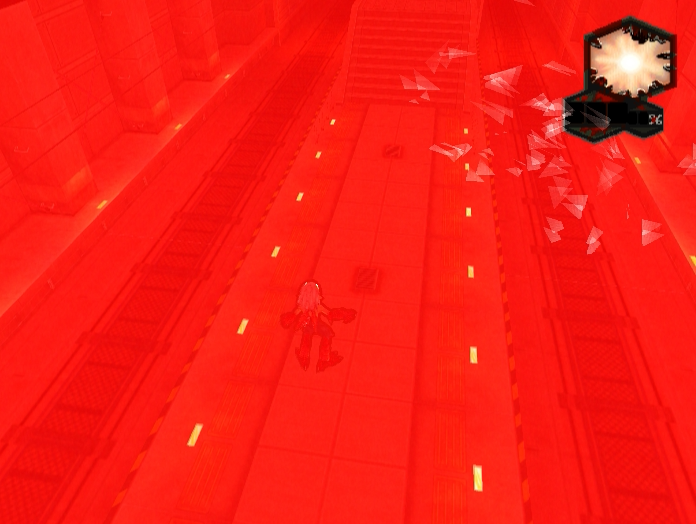
The camera pans over Ryu’s body, which begins to twitch violently.
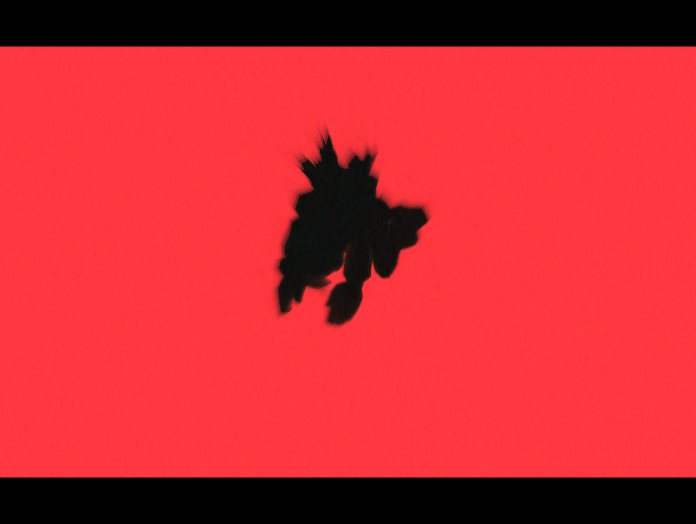
The grisly sound of bones grinding and breaking echoes as something begins to force its way out of his back.
Ryu rears back and screams…


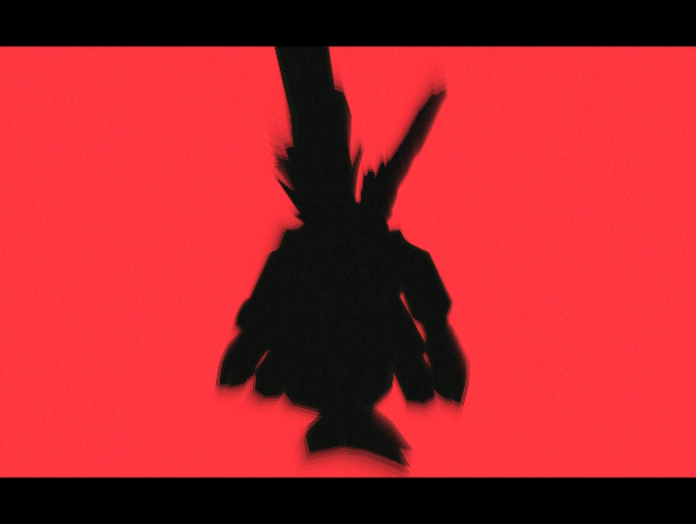
Then explodes into a huge bloody mess as an enormous creature bursts out of him!
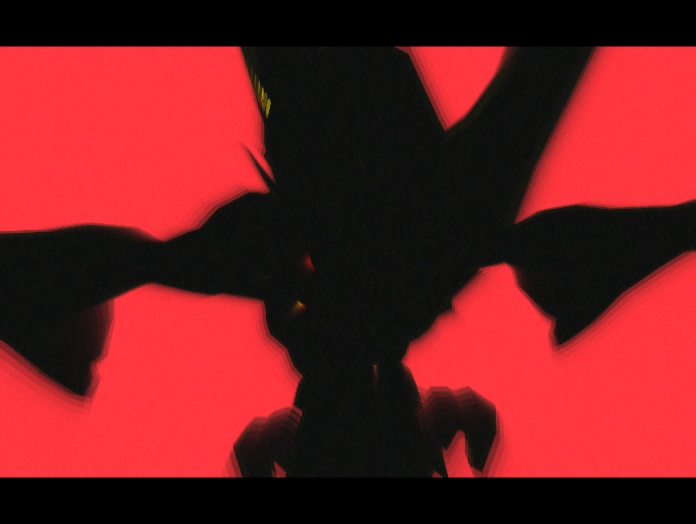
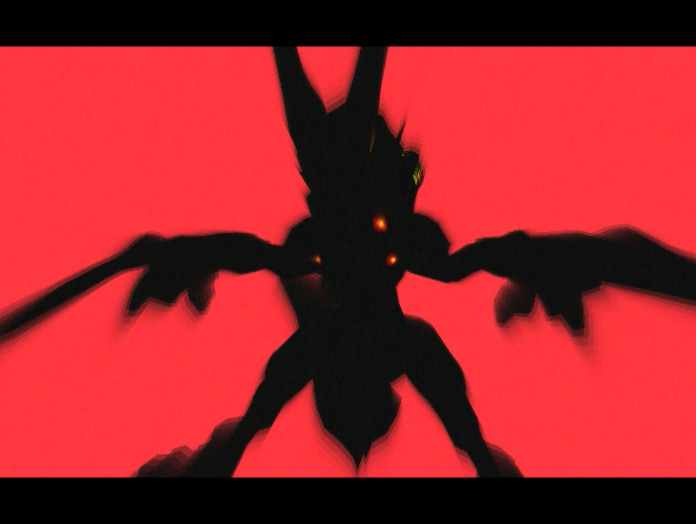
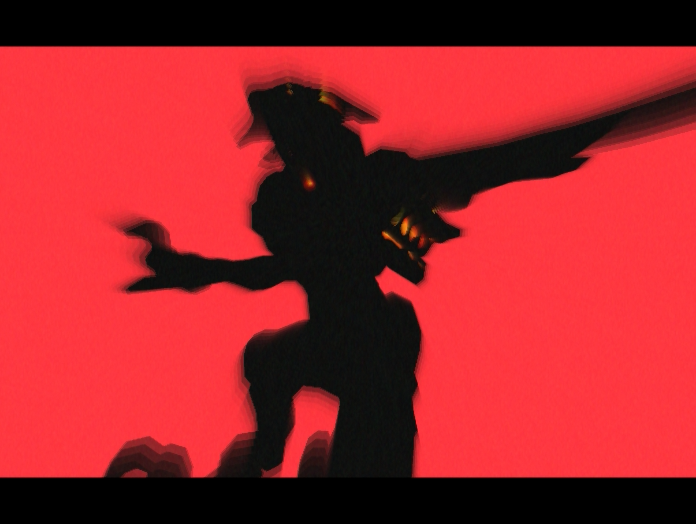
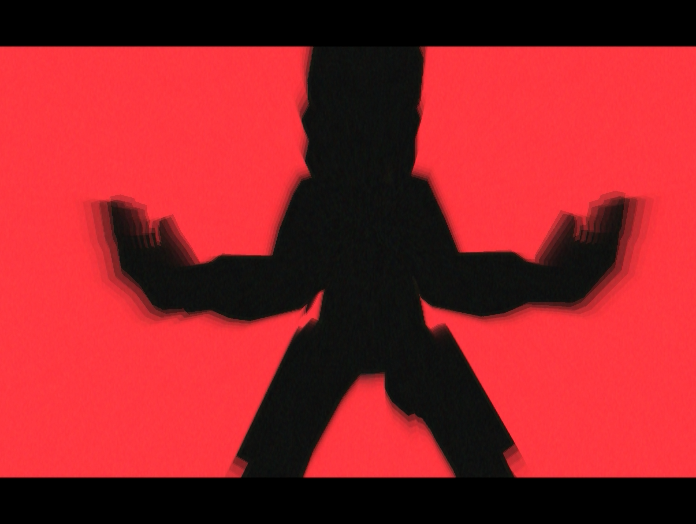
The newly emerged dragon roars, and the game ends.

Not good!
It should also be emphasised that while there are many, many ways to increase the D-Counter, there is absolutely no way to lower it. You can reset it to an earlier value using SOL Restore, but aside from one exceptional situation involving a bonus dungeon the D-Counter only ever ticks up. Incidentally, this is one reason why SOL Restart exists - it prevents you from being unable to continue if you make a catastrophic mistake and accidentally save your game when the D-Counter is at 99%.

Make no mistake. In Dragon Form Ryu is an unstoppable god. He’s immune to all negative status effects, shrugs off physical and elemental damage, has unlimited movement range and can wreak terrible destruction on his foes. The number of enemies that can even remotely threaten him in this form can be counted on one hand. But the D-Counter balances it out. It turns it into a panic button, a nuclear option you can use if you’ve got one boss or group of enemies that you just can’t beat.
The D-Counter is another controversial aspect of Dragon Quarter. It’s essentially a doomsday clock that puts a hard limit on the amount of time the player has to complete the game. Needless to say, a lot of fans found and still do find this to be a stressful and unnecessary mechanic. Transforming into a dragon is one of the main draws of the Breath of Fire series, yet the D-Counter actively discourages the player from doing so. It turns a previously free and useful skill (D-Dashing) into a wasteful and dangerous one. It makes the player think twice about exploring and backtracking, and while the SOL system means you technically can’t screw yourself, starting over from the very beginning isn’t very fun.
On the other hand, once you actually get to grips with it the D-Counter isn’t nearly as scary as it first appears. It feels tense to see it slowly ticking up, but that adds to the oppressive atmosphere of the rest of the game. Plus, once you get over the fear that it might permanently screw up your playthrough, completing the game before the D-Counter hits 100% isn’t especially hard. All you have to do is follow three simple rules:
1. Don’t D-Dash from this point onwards.
2. Only D-Dive against bosses and exceptionally nasty enemies.
3. Never use D-Breath.
Gamers who love exploring might be worried about the D-Counter rising as Ryu walks. Don’t. The increase is absolutely negligible and won’t be a factor unless you literally run around in circles for twelve hours. So long as you stick to the three rules you’ll have more than enough percentage points to spare in order to fight the really hard bosses.
But enough talking about mechanics. We’re still not done with the Bosch encounter, and to that end I employ the SOL Restore function again.
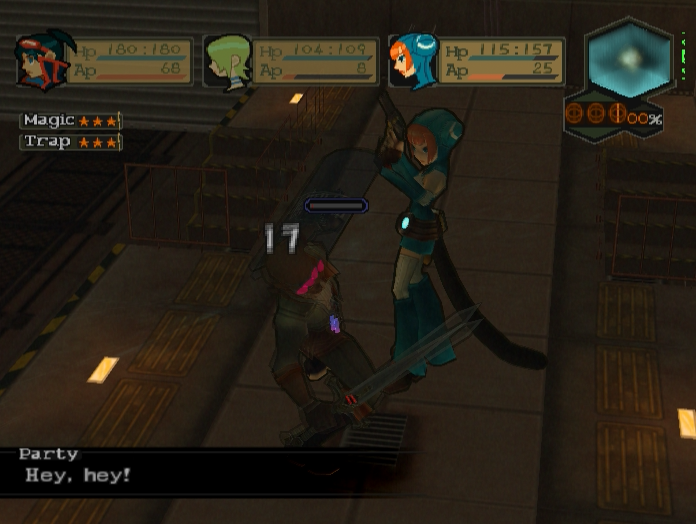
One disadvantage of Dragon Form is that it disables defensive skills, which means we don’t get a chance to steal whenever Ryu is attacked. This is bad because Bosch has a skill item I’d quite like to have.
Lin does have Steal equipped, but Bosch will always move towards Ryu and won’t attack anyone else if he’s in range. Thus it takes some jiggerypokery to get him and Lin into a position where he will attack her.
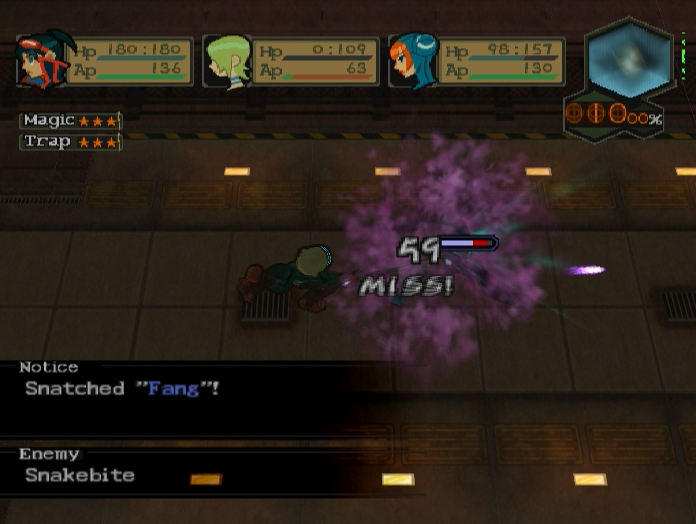
When he does though you’re pretty much guaranteed to get the item.
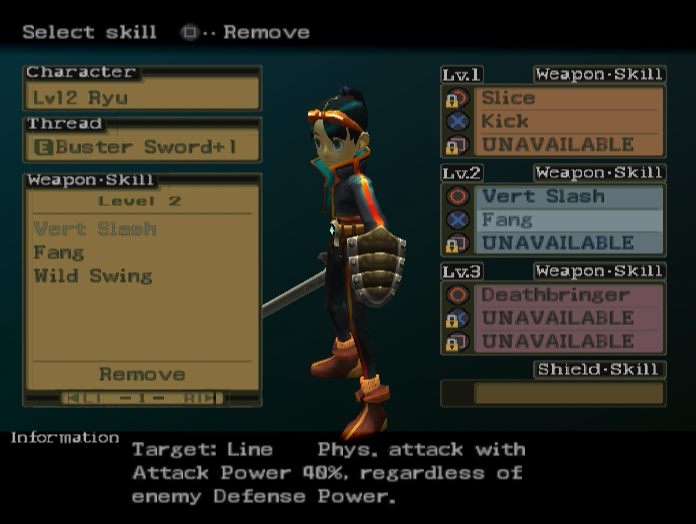
We know what Fang does already. It’s one of the skills Bosch used when he was in our party. It’s weaker but more reliable than Wild Swing, and the armour-piercing quality gives it some added utility.
We’re almost ready to move on, but I need to SOL Restore one more time. With all we know about the D-Counter, it’s very important that we get through the Bosch fight without it rising too much.

To help with this it’s very useful to have Nina and Lin kill one of the grunts so Ryu doesn’t have to. It’s best to kill the Sword Grunt since his shield means he takes two Vortexes to kill, while the Gunner Grunt only requires one.

After that Ryu can take out Bosch with a Twister and the Gunner Grunt with Vortex, leaving him at 3.50%. This is the minimum possible value for this playthrough; in New Game+ Nina and Lin will have access to better abilities and stronger weapons and can clear the field by themselves, leaving Ryu with 1.00%.
Music: Lift

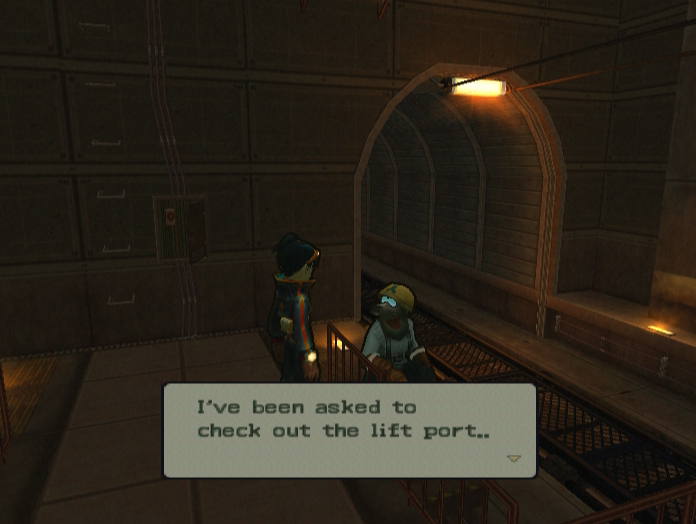
Time to finally make some progress.

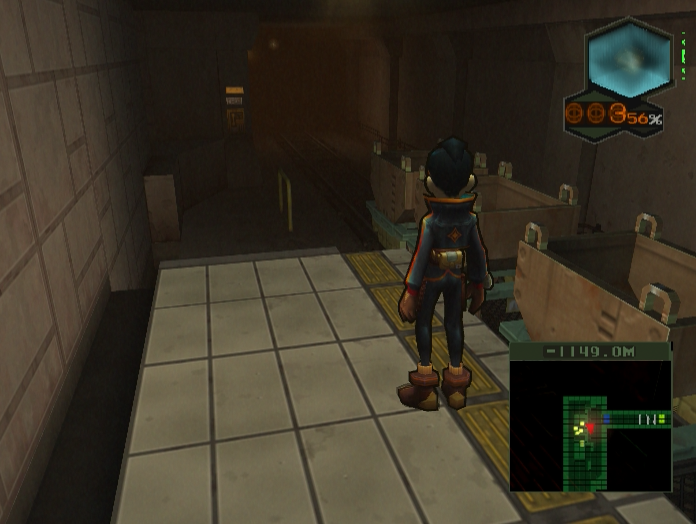
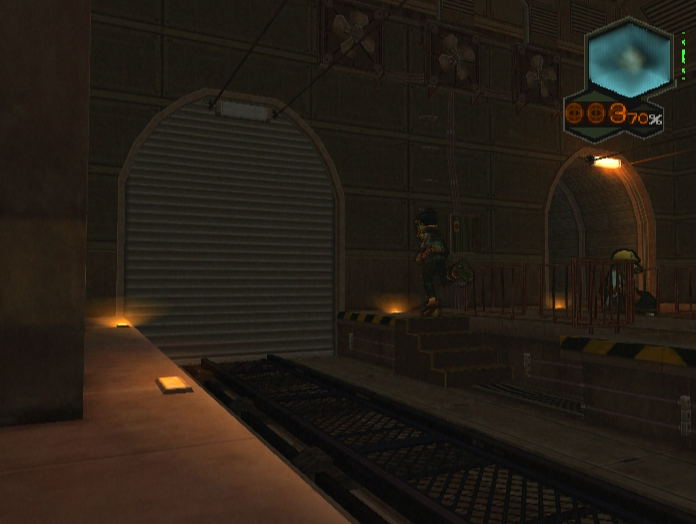
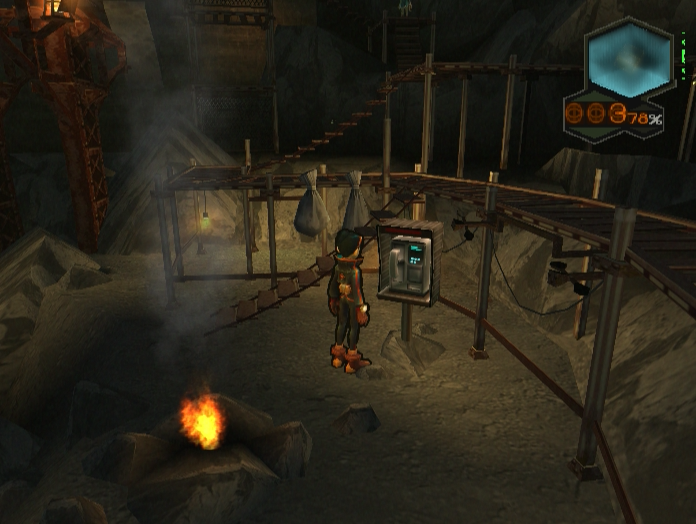
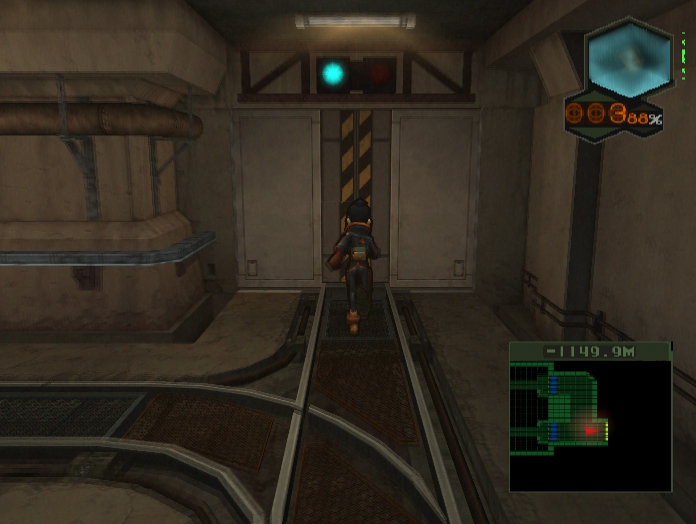
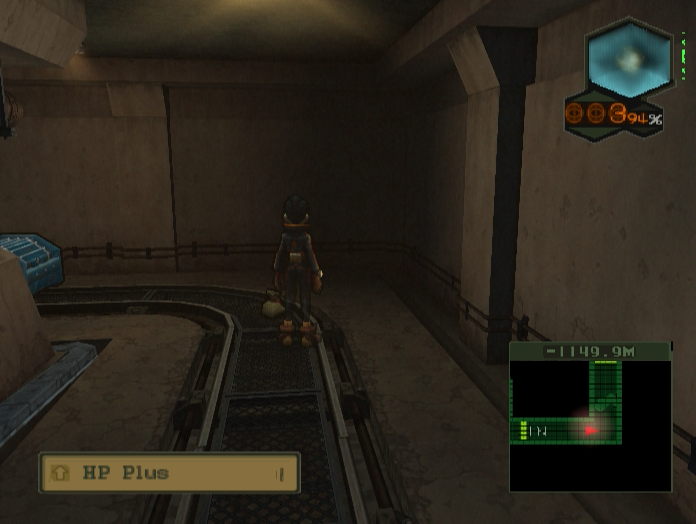
We can start by exploring the area we begin in, which is the EndSector Freight line. There are two breakable crates behind the starting area containing 80 zenny and a HP Plus.

There are two more crates directly opposite of where we start, this time containing 140 Party XP and a Protein, an item that permanently increases Defence by 1. There is also a handy save point nearby.
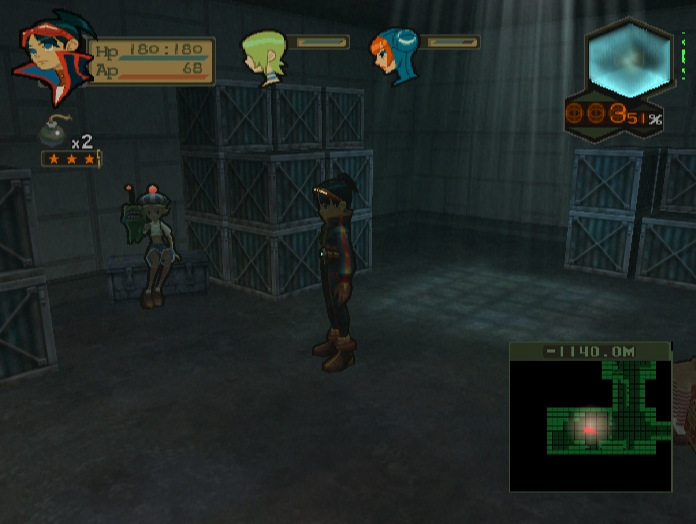

To the right is a small nook where we can find tutorial girl and Leo.
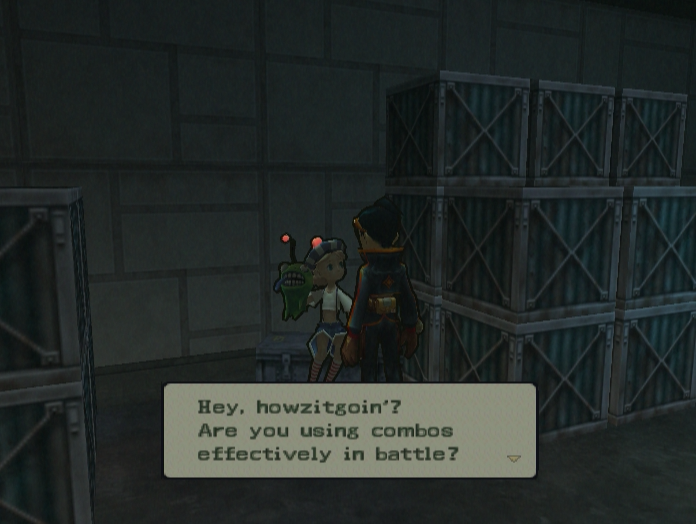
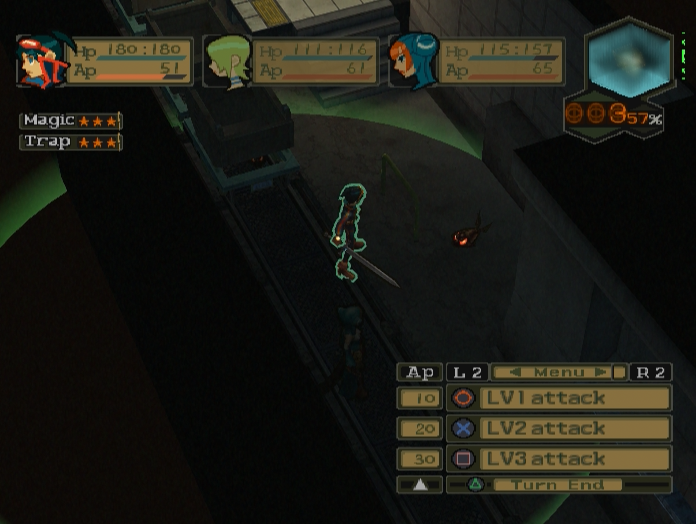
 : Using skills on their own is okay, but you can do more damage by combining different skills.
 :…it will add a ‘Bind’ effect to the attack. Try different skill combinations and see what extra damage they can cause enemies!
Tutorial girl reminds us about special combos.

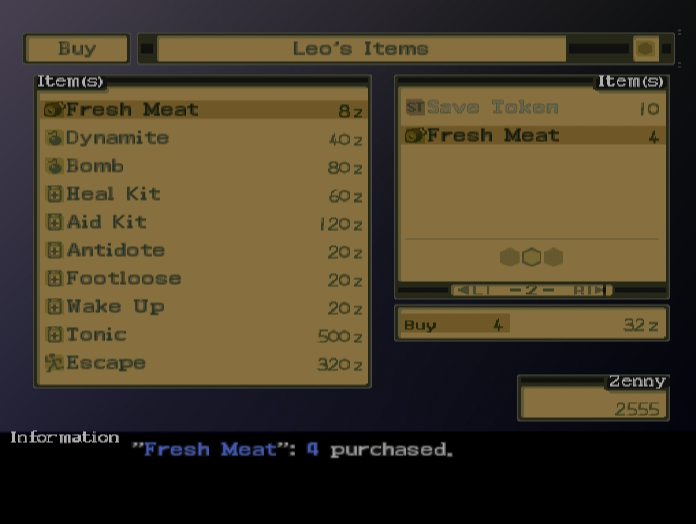
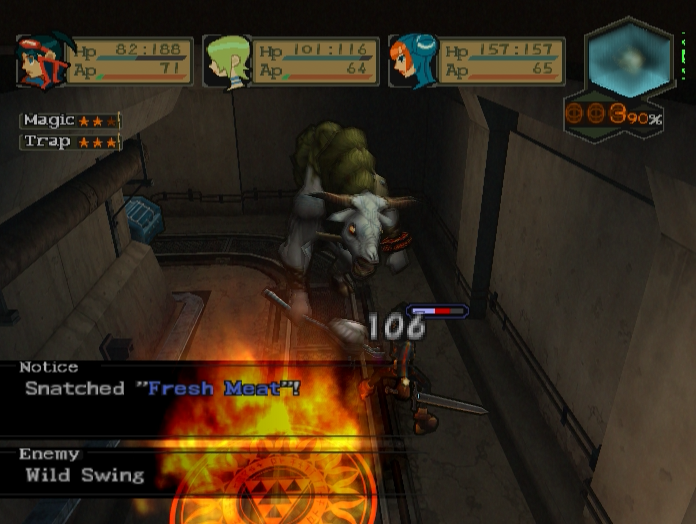
I wind up buying some Fresh Meat from Leo before moving on.
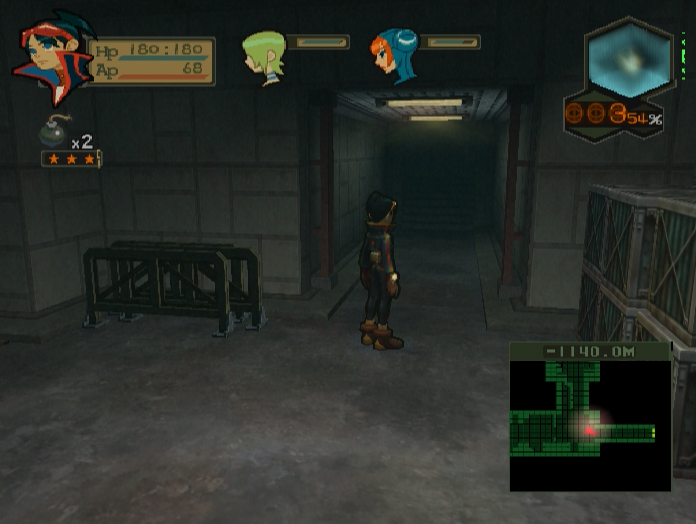
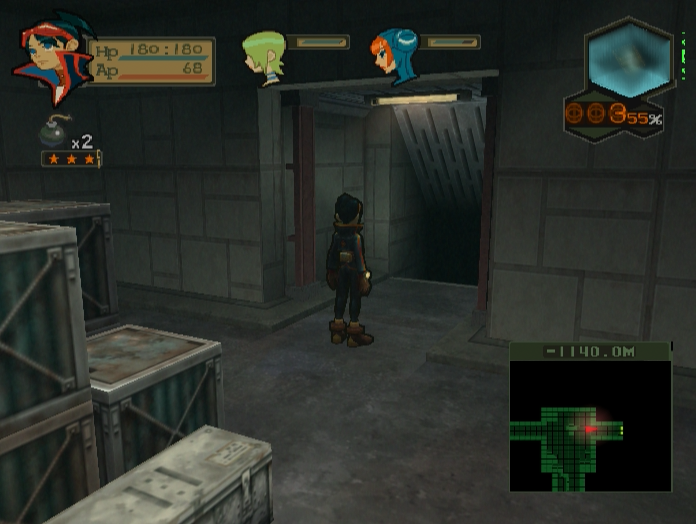
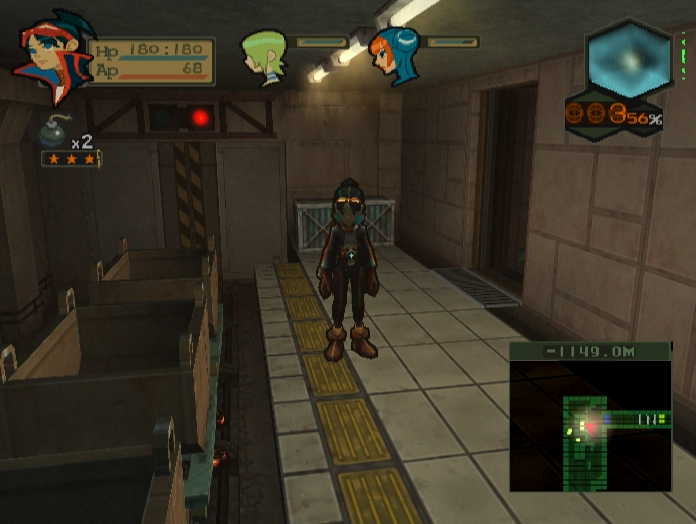
There are three exits to our starting area, one opposite Leo that leads upwards and two others near where we woke up that lead downwards. We need to head up to proceed, but it’s a good idea to explore the lower levels first.

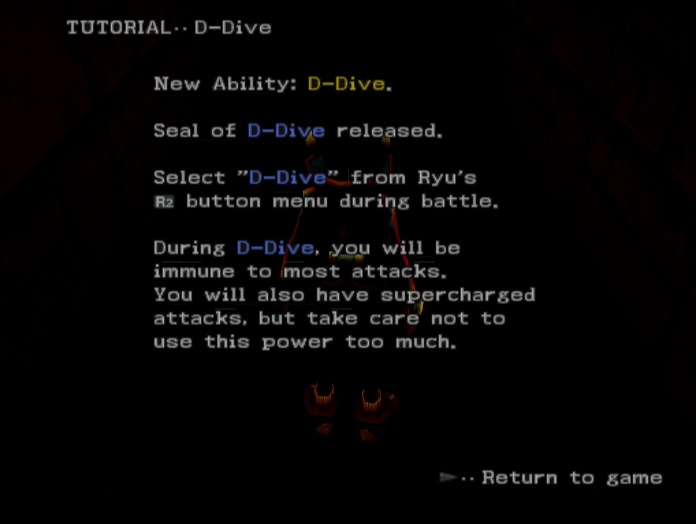
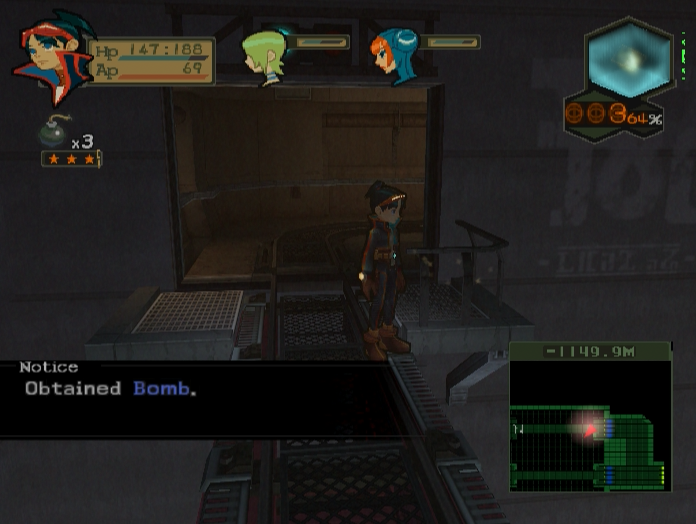
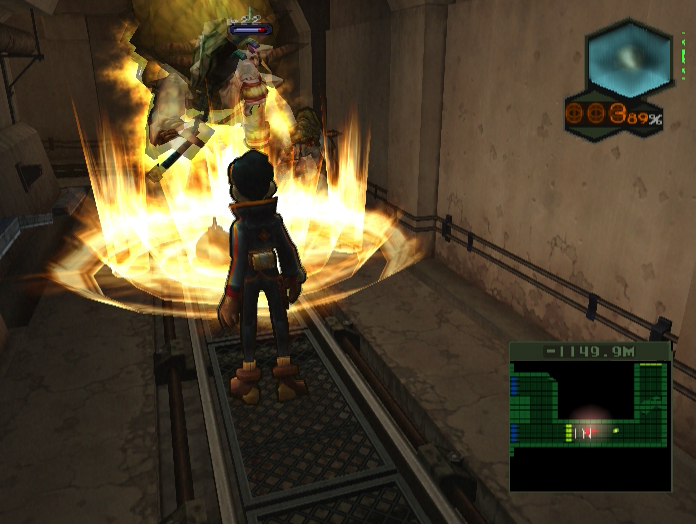
Leaving through any of the exits will throw up this screen telling us that we can now use the D-Dive skill to transform Ryu.

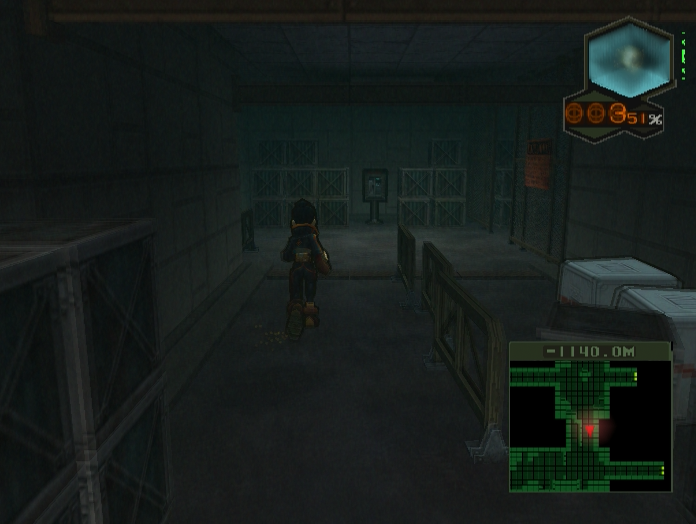
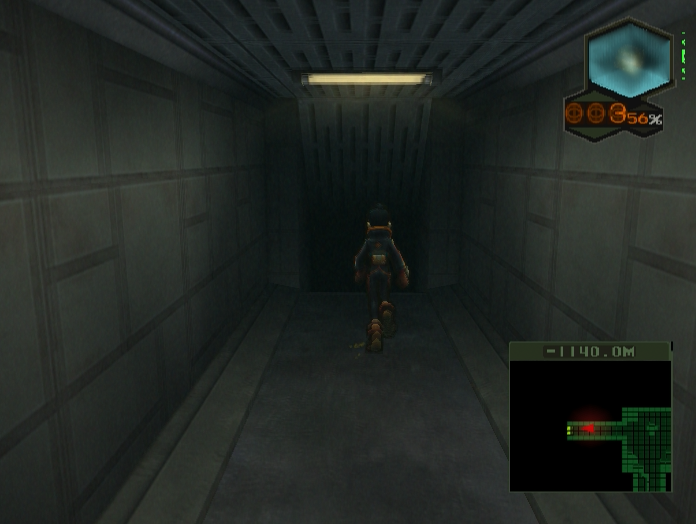
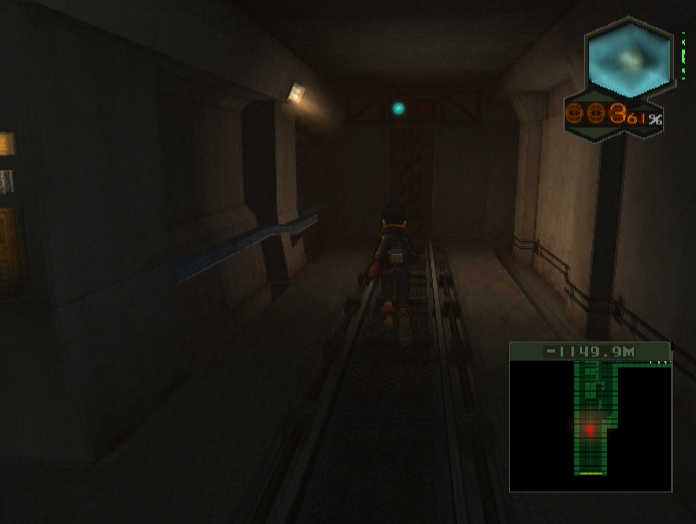
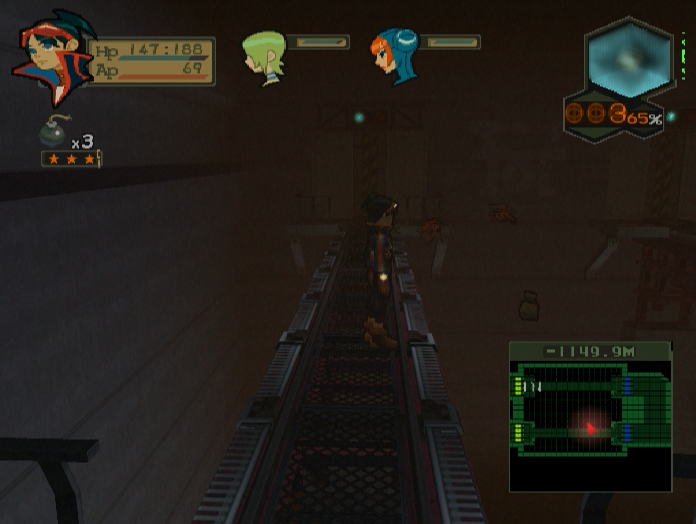
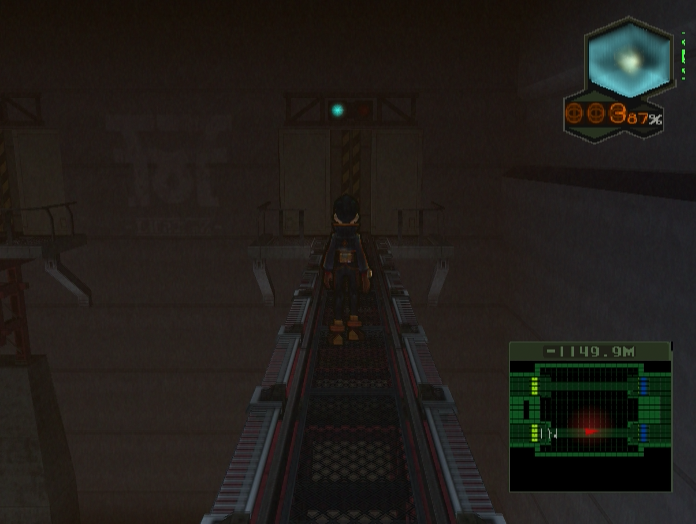
We emerge into an environment similar to the Lift to Biocorp level we explored with Bosch at the beginning of the game.
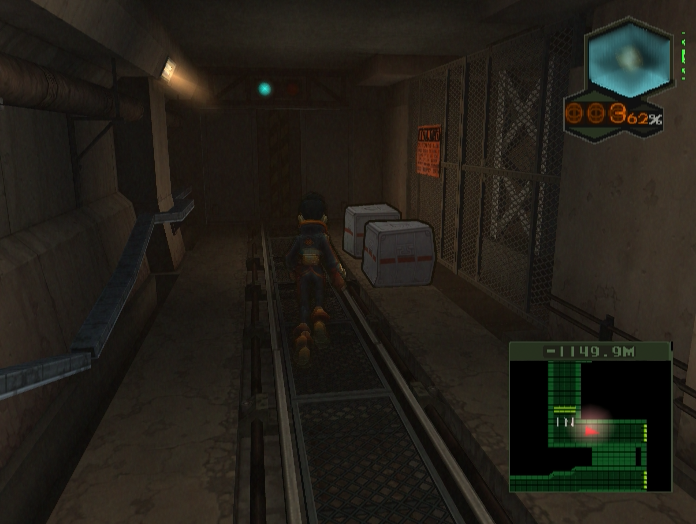
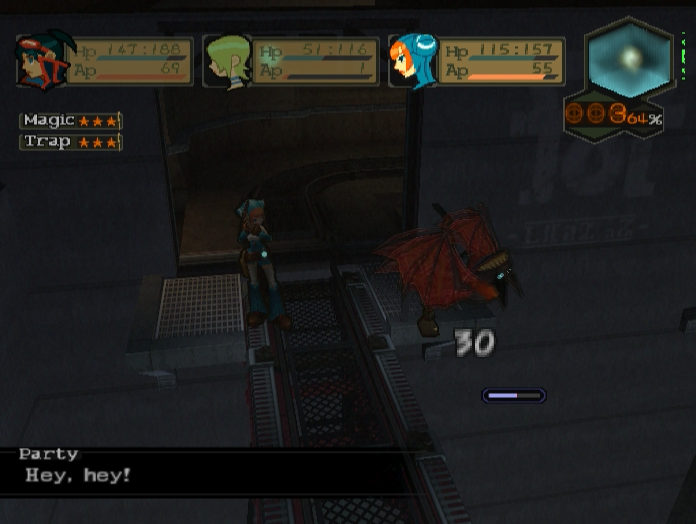
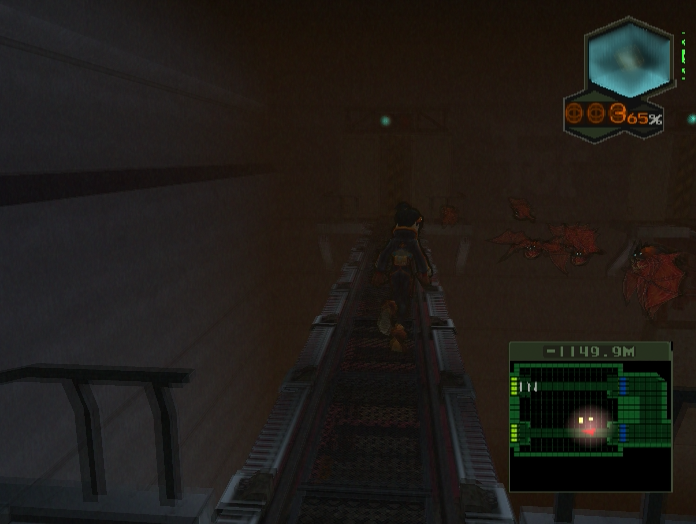
It’s a bit more run down though, with Baby Rustphages swarming around the dilapidated railcars and deserted sidings.
We could run past, but it’s worth going out of your way to exterminate them.

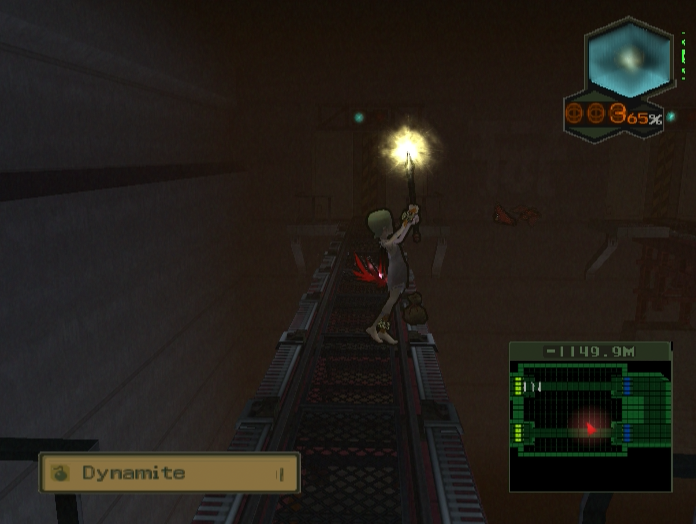
Once you’ve killed the little ones an Adult Rustphage will pop out. They aren’t much tougher than the babies, but they drop a worthwhile item.

Louses are vendor trash items that sell for 301 zenny a pop. Baby Rustphages rarely drop them, but their larger counterparts nearly always do.
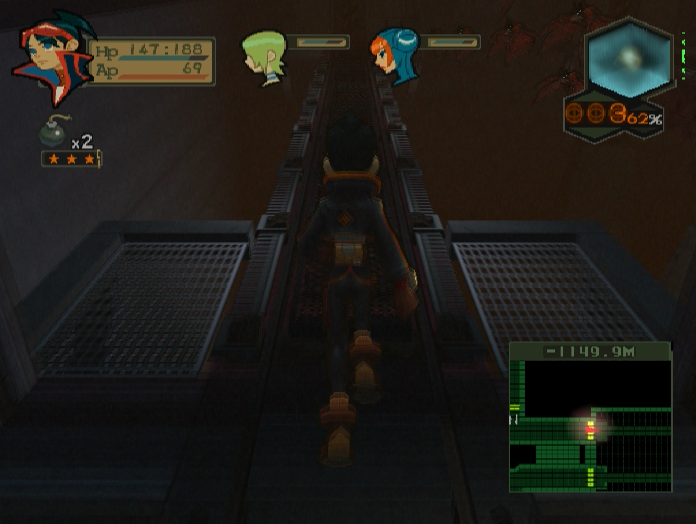
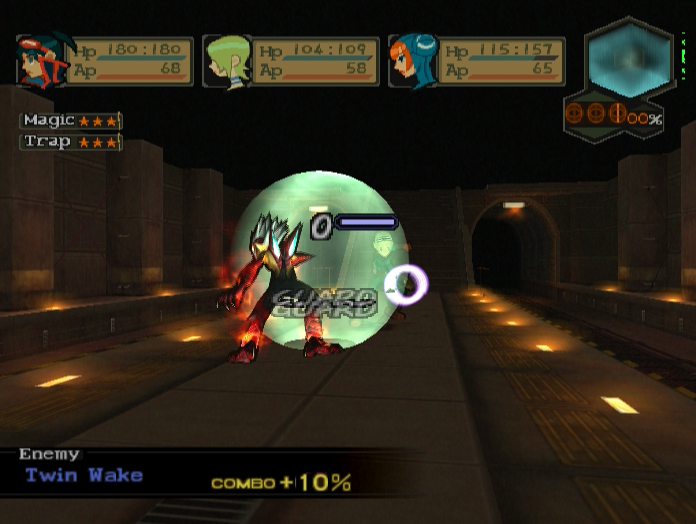
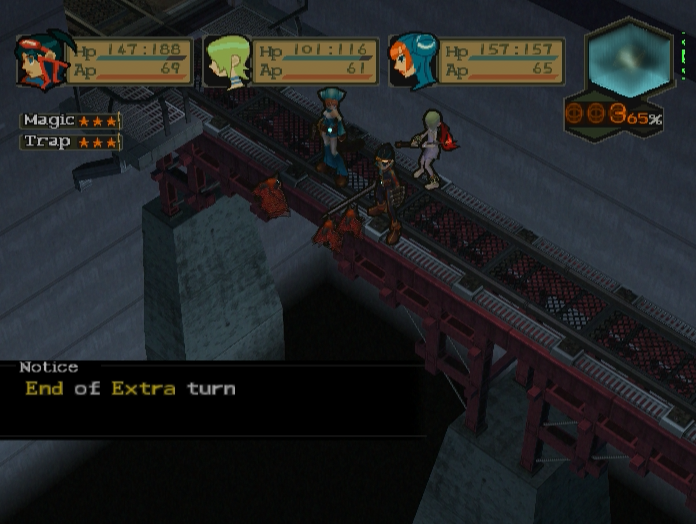
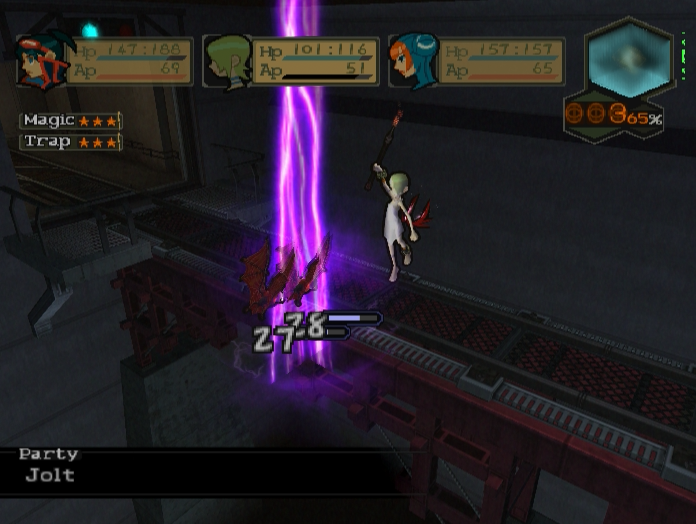
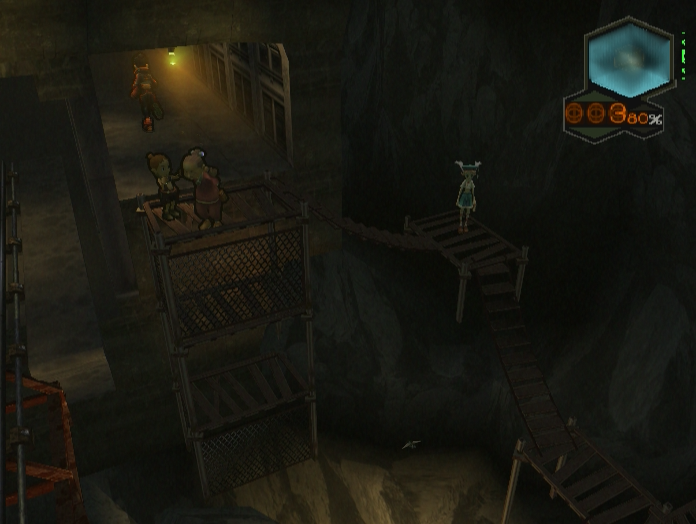
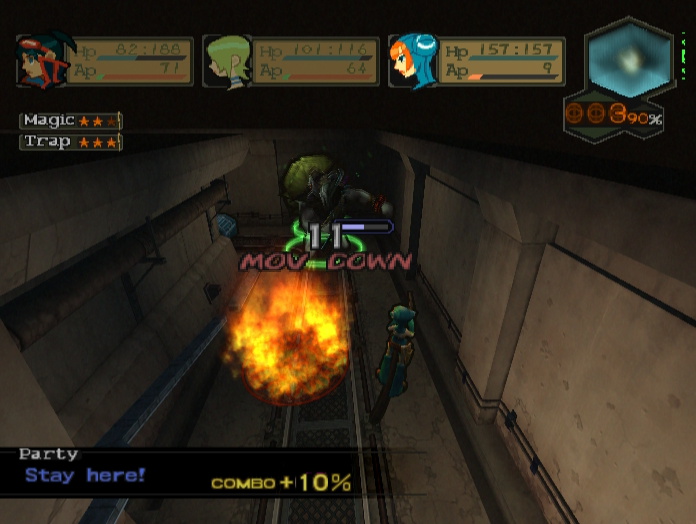
After going down some corridors we come to a room with a pair of bridges guarded by a number of Lantern Bats and their smaller cousins, the Lil’Lantern Bats. These are the same enemies we ran from with Bosch due to being to annoying to deal with.

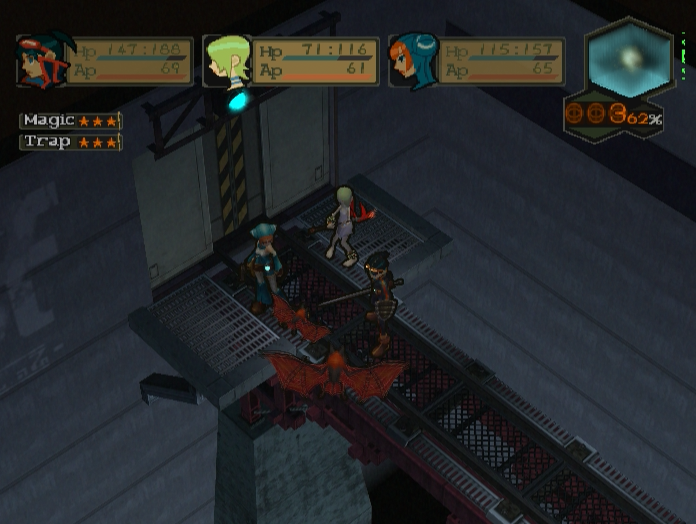
The bats attack as soon as we set foot on the bridge. But we’ve gained some levels and party members since last time.
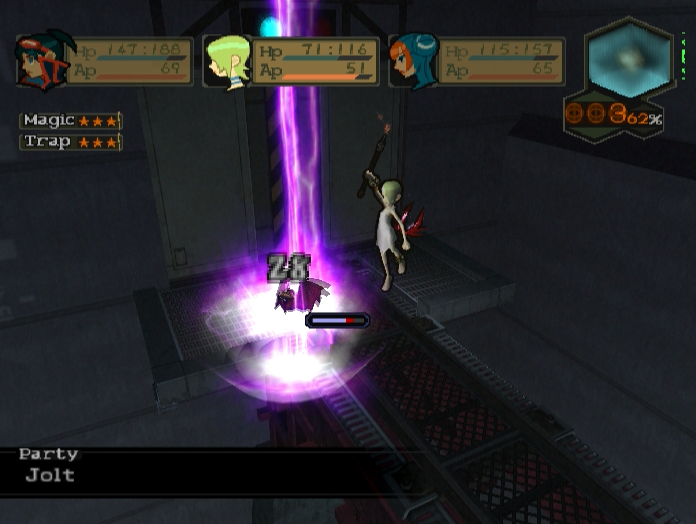
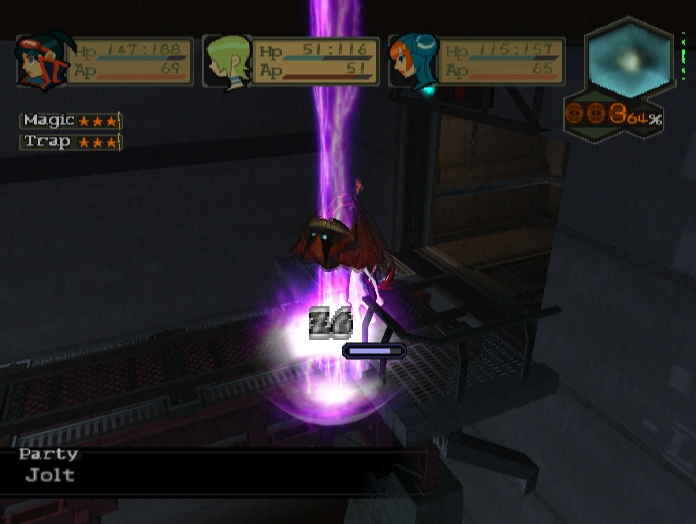
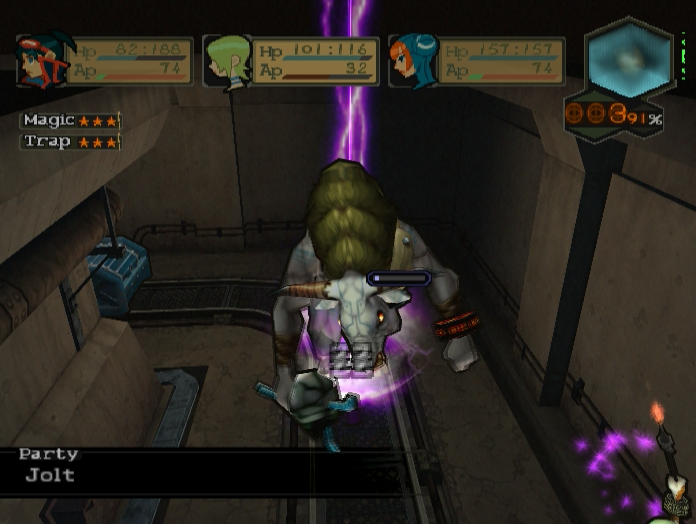
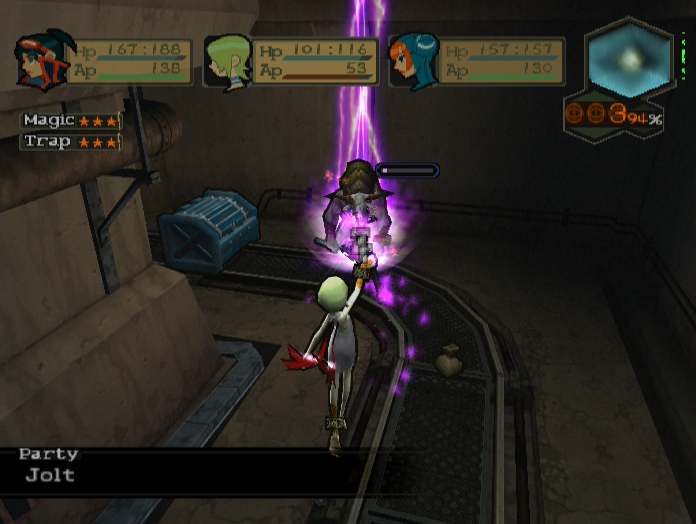
Nina’s Jolt spell is particularly effective, especially if you can get the bats to clump together so it hits more of them at once.
Lin is also useful, given she can hit the bats even when they’re flying over the void.

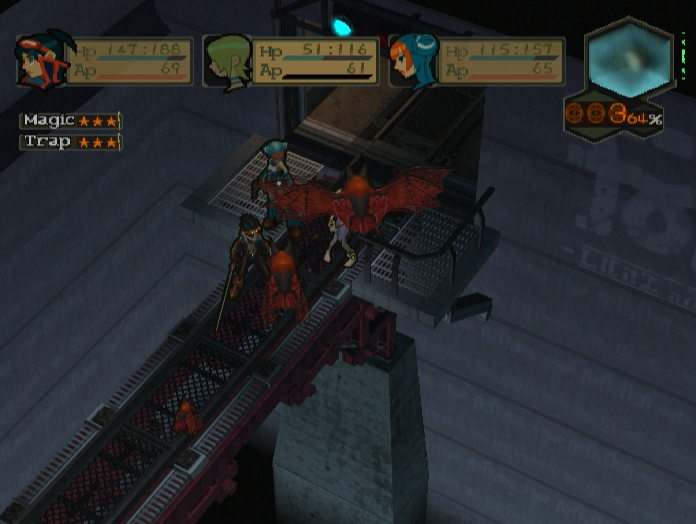
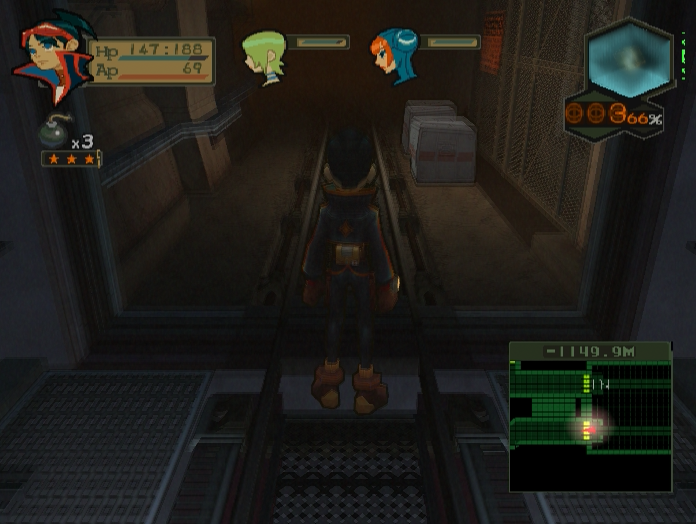
Crossing the bridge leads to a fork, with the right hand path leading back into the room we just came from. We’ll be taking that route for now.
More Lantern Bats attack. Nina deals with them swiftly.
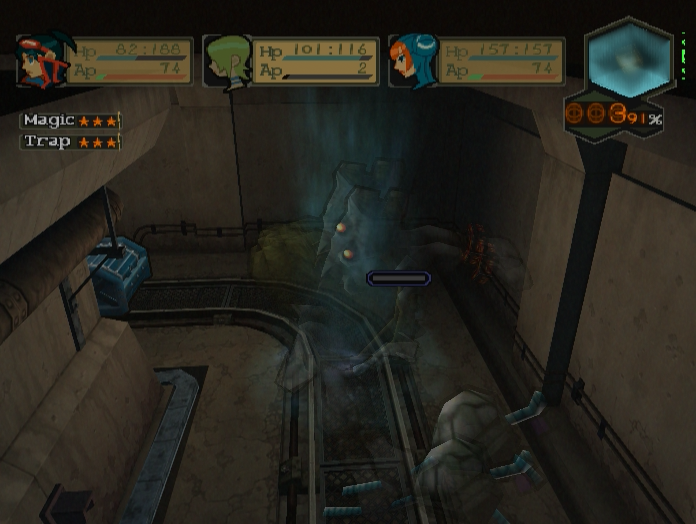
Sometimes a Lantern Bat will die and drop an item over the void, resulting in it floating out of reach.
When this happens you can use Nina’s vacuum ability to collect them.
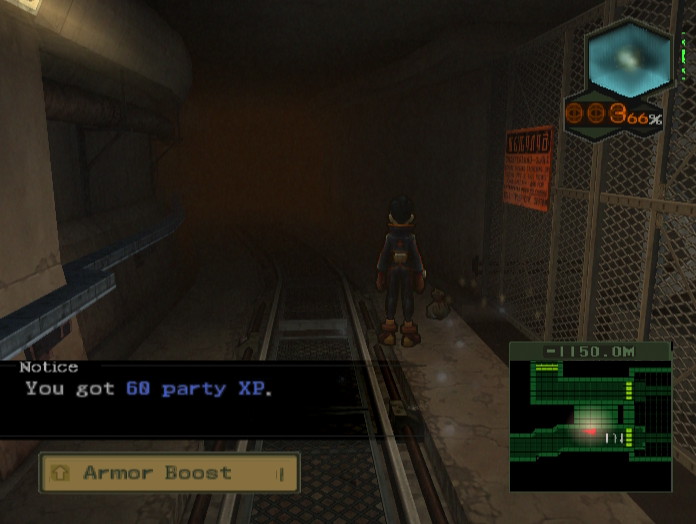
The two crates in the next corridor contain some Party XP and an Armour Boost, an item that works similarly to the Power Boost only it increases Defence by 25% rather than Attack.
Music: Lowest Sector
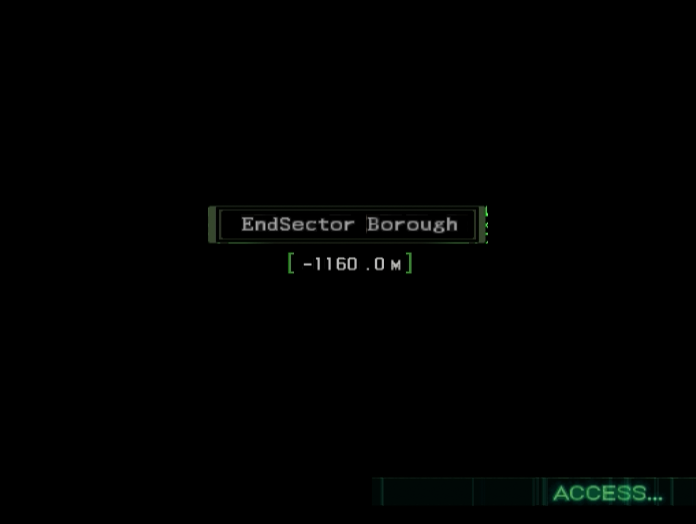
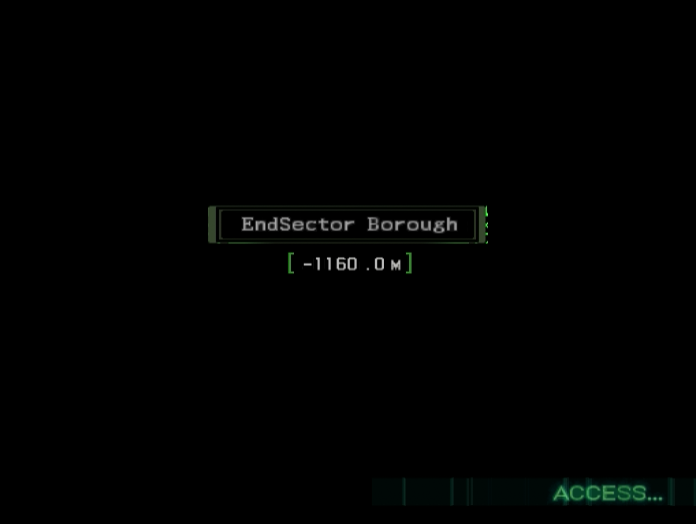
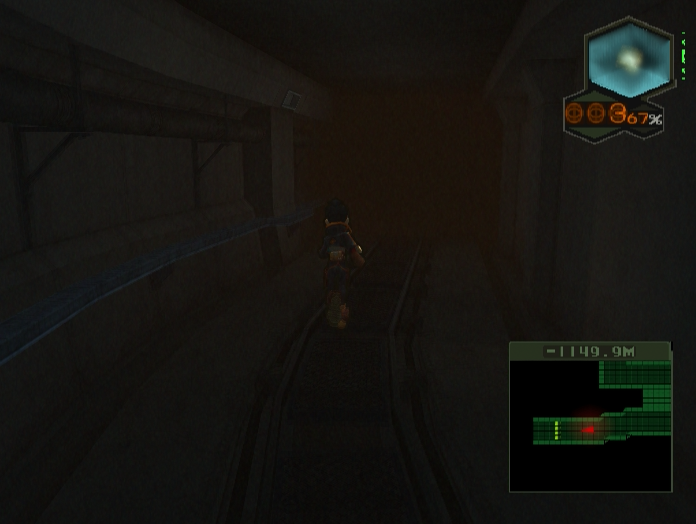
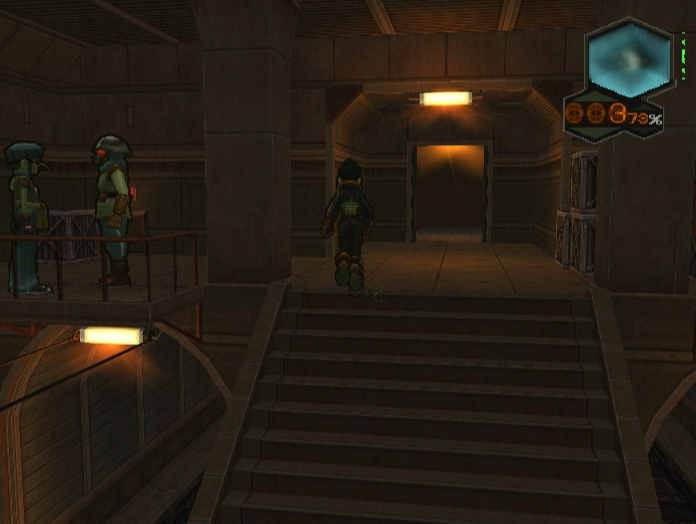
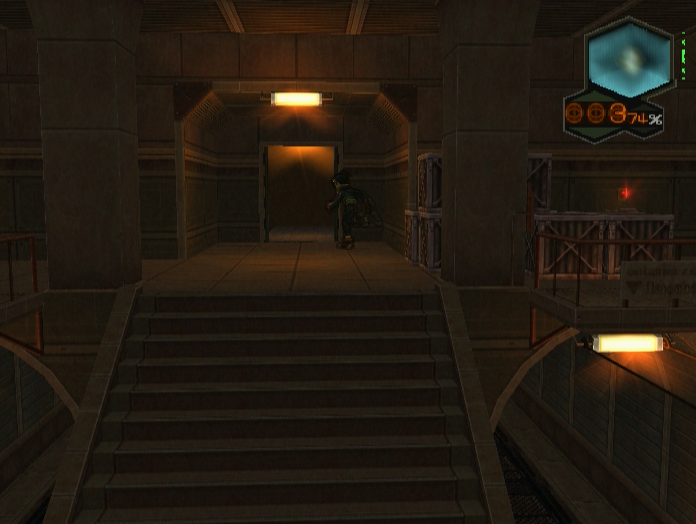
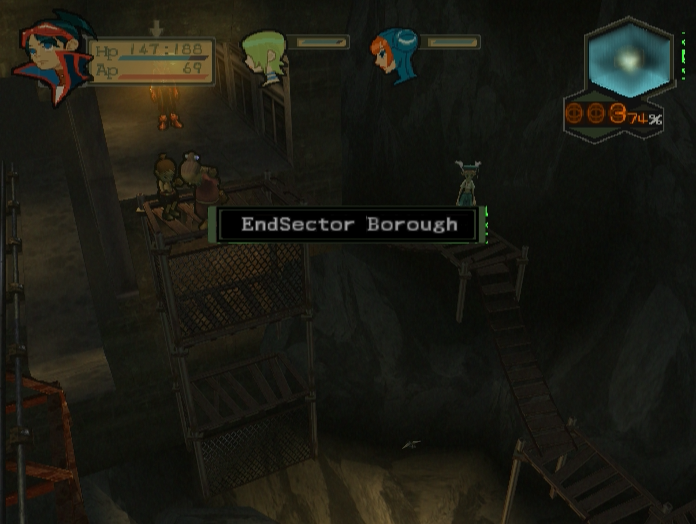
Going into the darkness takes us back to EndSector Borough.
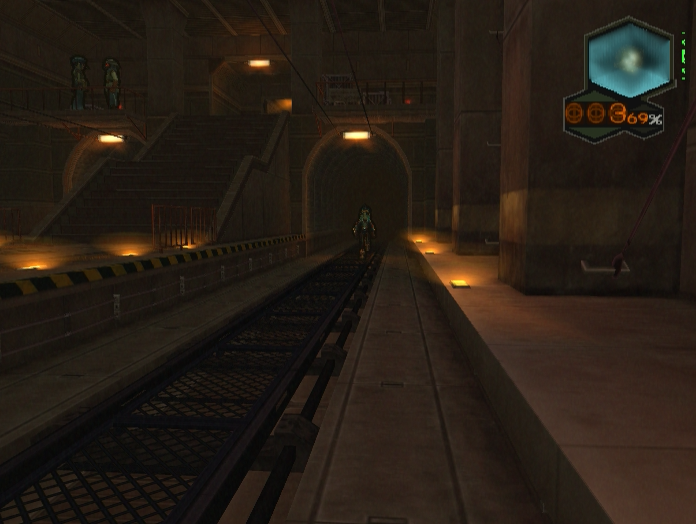
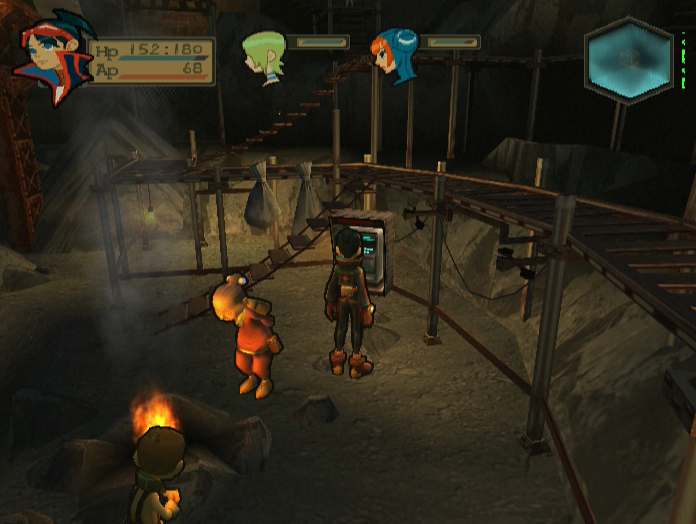
We emerge onto the freight platform where we fought Bosch and his flunkies. Their bodies are gone, but the station is occupied by Low-D workers.
 : Sounds like the LowSector guys are really rough on the darn thing.
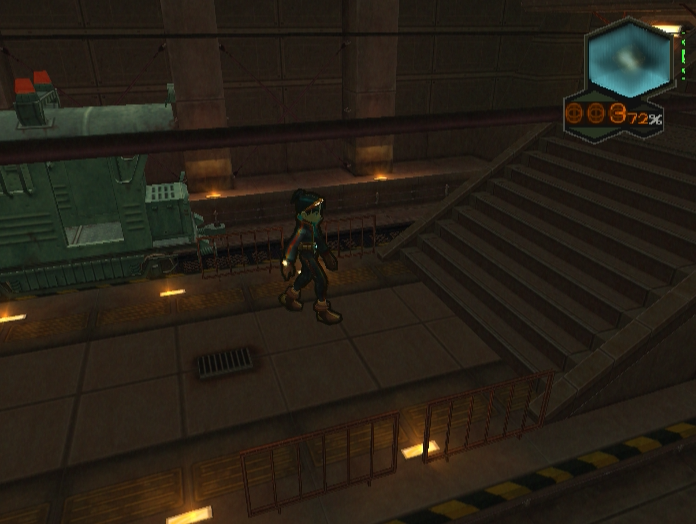

 : Just because our D-Ratios are low shouldn’t give them the right…!
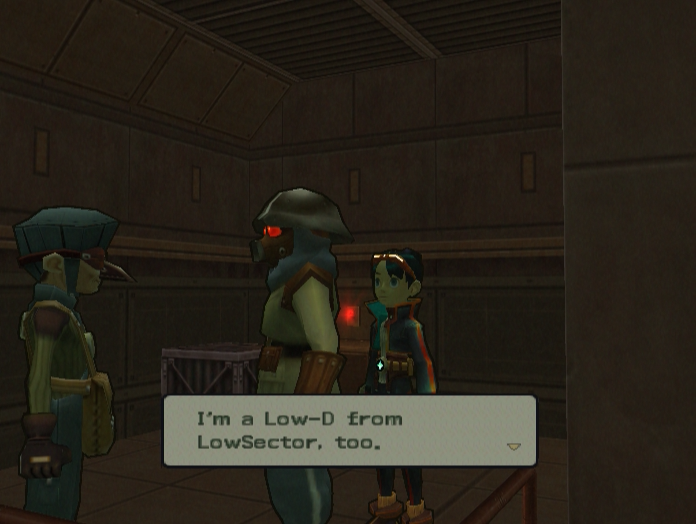
 : I’d pay them more if I could…but I can’t go against government rules.
Yeah, people with low D-Ratios really get the shaft. Living in a caste system really, really sucks for people at the bottom.
EndSector Borough is pretty much the same as it was before, except certain NPCs have moved around a bit.

 : And they lost!
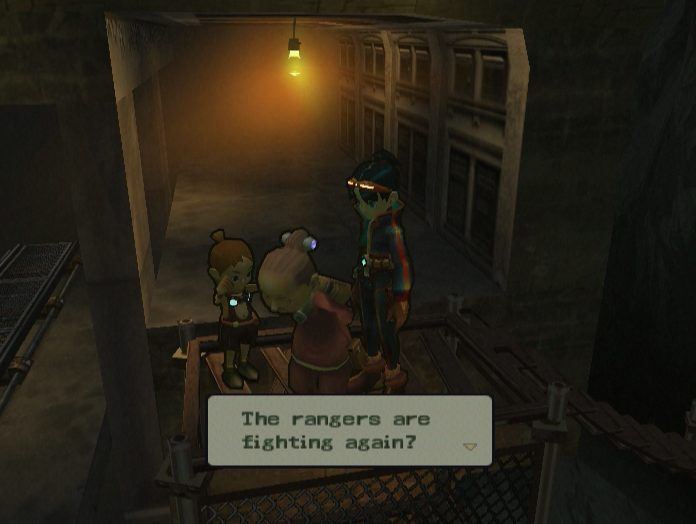
 : That’s really terrible…

So yeah, EndSector really hasn’t changed much. Jaju, Arma and Leo are all still here, just in case you need to store or buy anything.
With that out of the way we’re free to explore the left hand side of the fork.

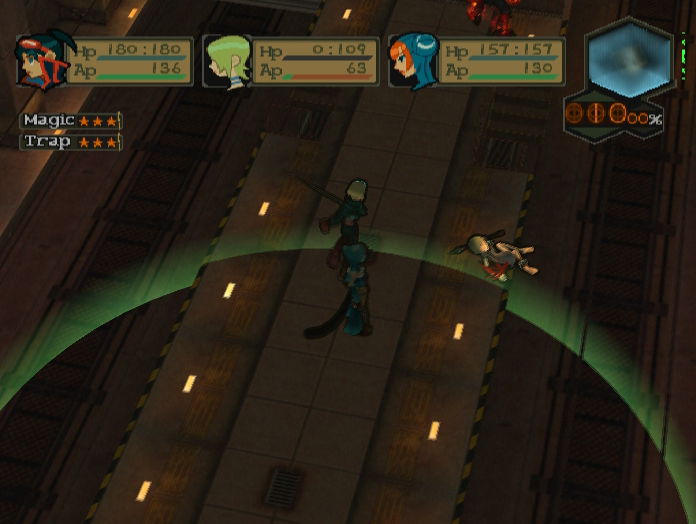
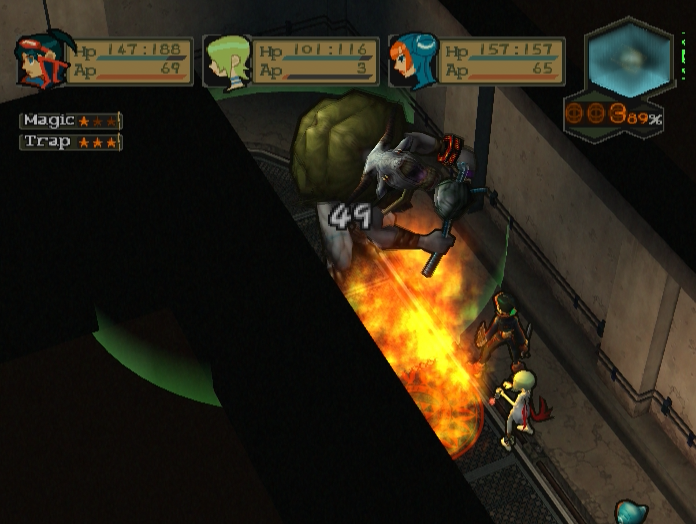
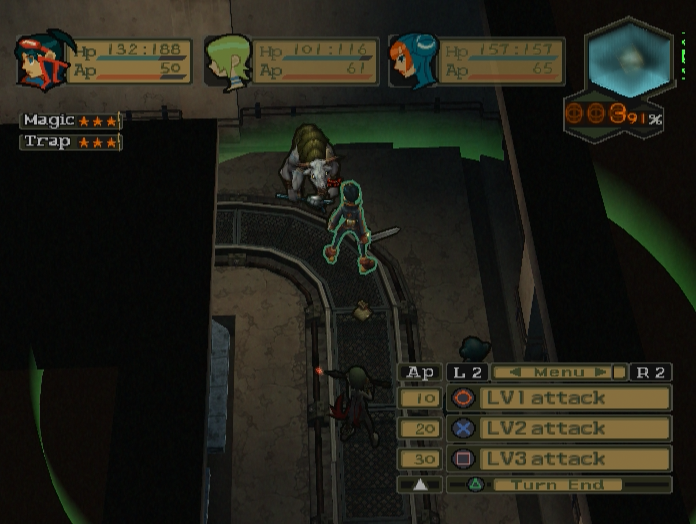
The answer turns out to be a Death Cow and his mini-me, a smaller variant known as a Beak.
As ever, it’s best to soften tough enemies like them up with a few explosives before engaging. In this case it’s also a good idea to lure the Death Cow away from his smaller companion.
Death Cows are as tough as they were when we fought them early in the game. They have a ton of health and their rebar clubs pack a wallop. Since we don’t have Bosch to soak up the hits it’s important to keep the bovine menace at a distance with judicious use of runes and knockback skills.
After a sustained pounding the beast finally falls, allowing us to face the Beak by its lonesome.
Don’t be fooled by the Beak’s small size. It has just as much health as its larger cousin, along with a repertoire of nasty skills that will ruin your day if you aren’t careful.
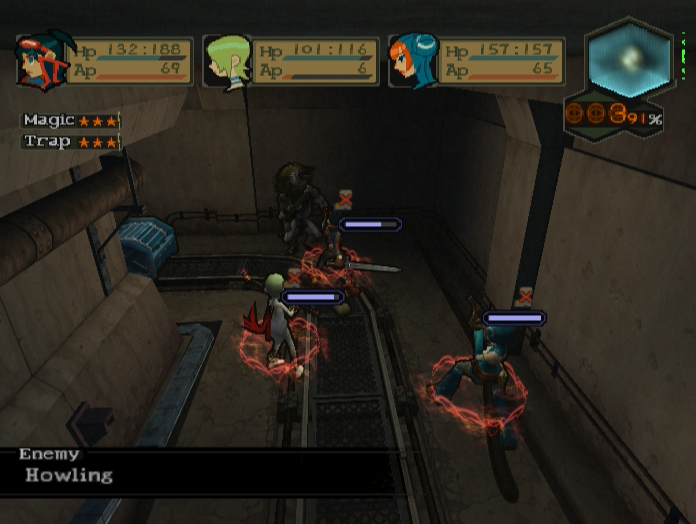
One of these skills, Howling, inflicts Bind on the entire party.

The Beak is also a spellcaster and can cast powerful area of effect spells like Iceblast.

Even its melee attacks are dangerous. Fighting this guy and the Death Cow at the same time is not a good idea.
Luckily, being bound doesn’t stop Lin and Nina from chipping away at it from a distance.
Defeating the Beak rewards us with an HP Plus, and also gives us access to the treasure chest!
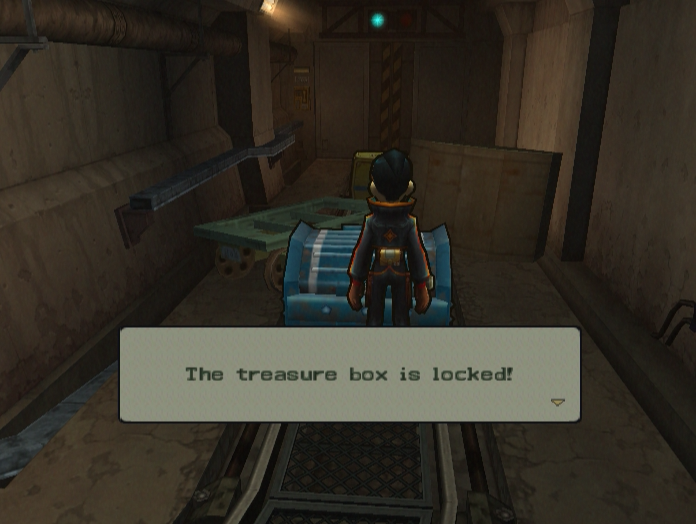
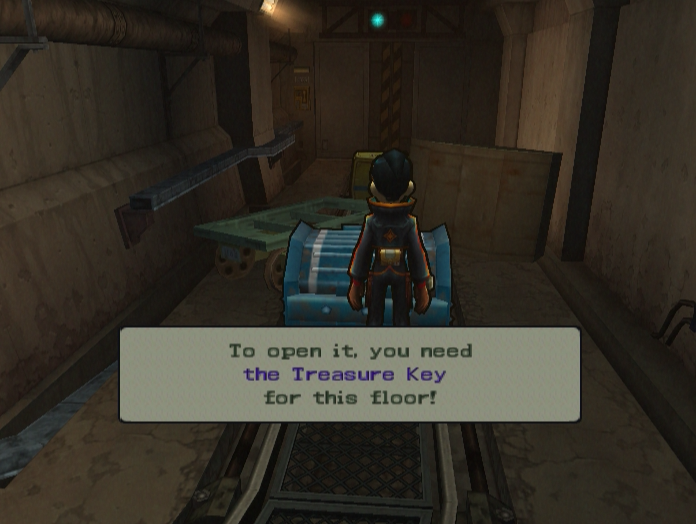
It’s at this point that I realise that defeating the genics here didn’t cause the treasure key to materialise. I was scratching my head for a while wondering what was up, since powerful enemies like them are usually the ones you have to beat to get the key.
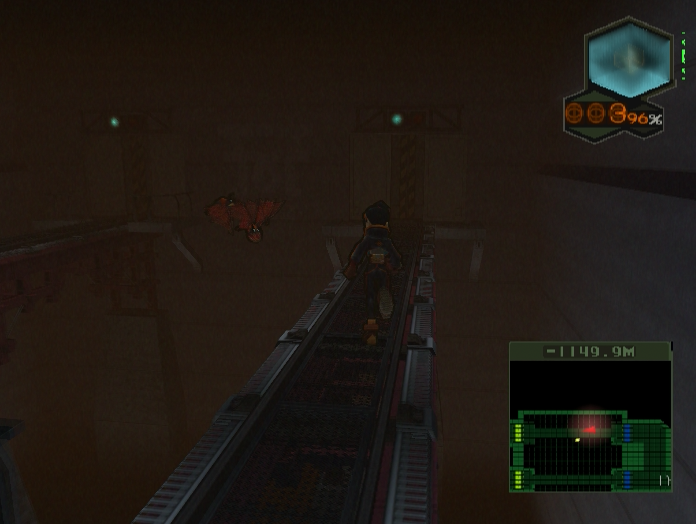
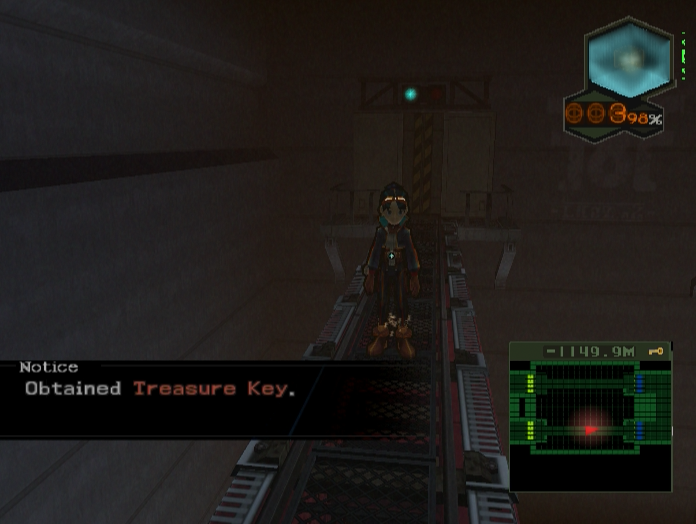
Turns out I didn’t kill all of the Lantern Bats, and the key only appears once they’re all dead.

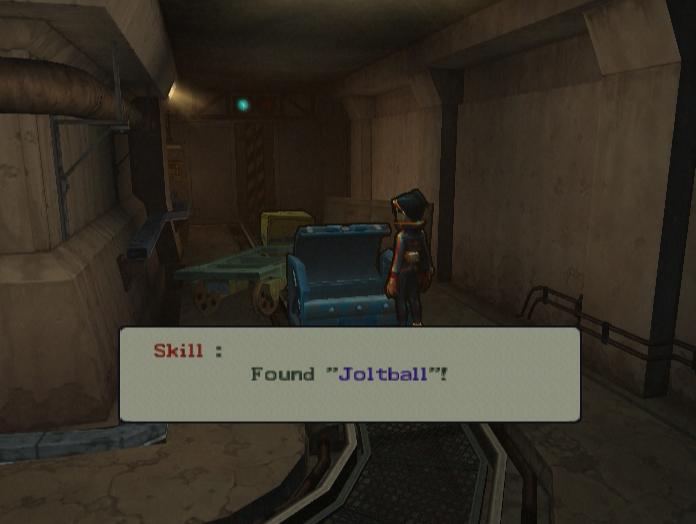
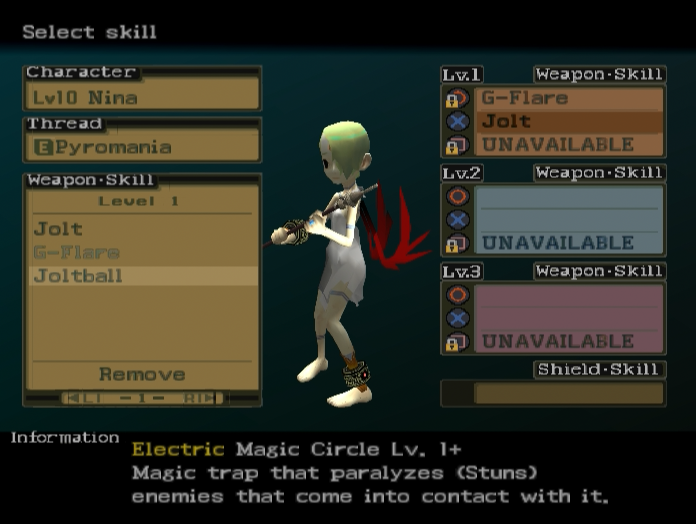
Unlocking the chest gives us Joltball, a skill for Nina. Joltball is the electric equivalent of G-Flare, a placeable rune that shocks anything that steps into it.
That’s about enough for this update. Join me next time, when we begin the climb back up to LowSector.
--
Bonus Art: Lin Riding Cyclops